I’ll tell you another new design today. That’s how to make a beautiful butterfly out of paper quilting.
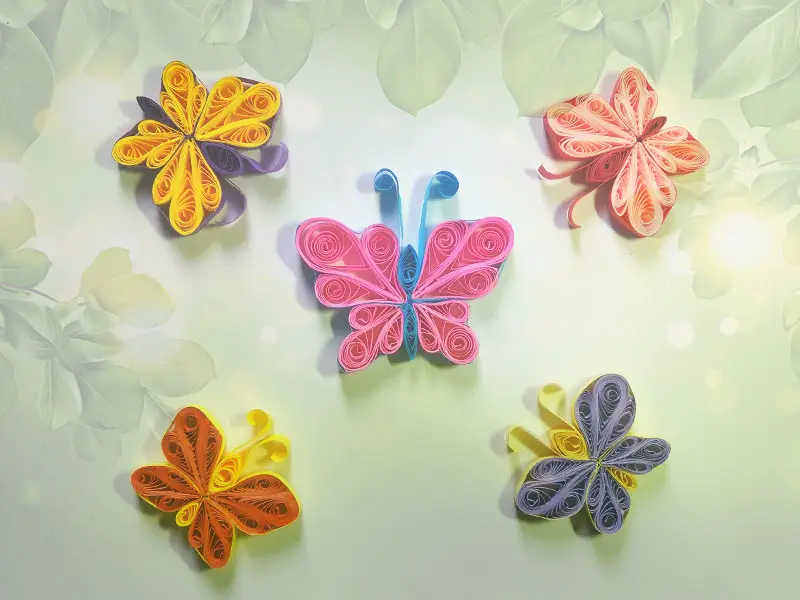
You can make this butterfly in any color you like. The butterfly is very beautiful when made in different colors. So, you want to try this beautiful butterfly of mine too.
I think it will be useful for you to learn how to make this butterfly.
This butterfly is very useful for small children’s activities.
You can also use this creative butterfly to beautify your home, as well as for your various designs and ornaments.
You can also use these butterflies to beautify your little one’s room.
Contents
How to make paper quilling butterfly
Okay now let’s see how to make a paper quilling butterfly.
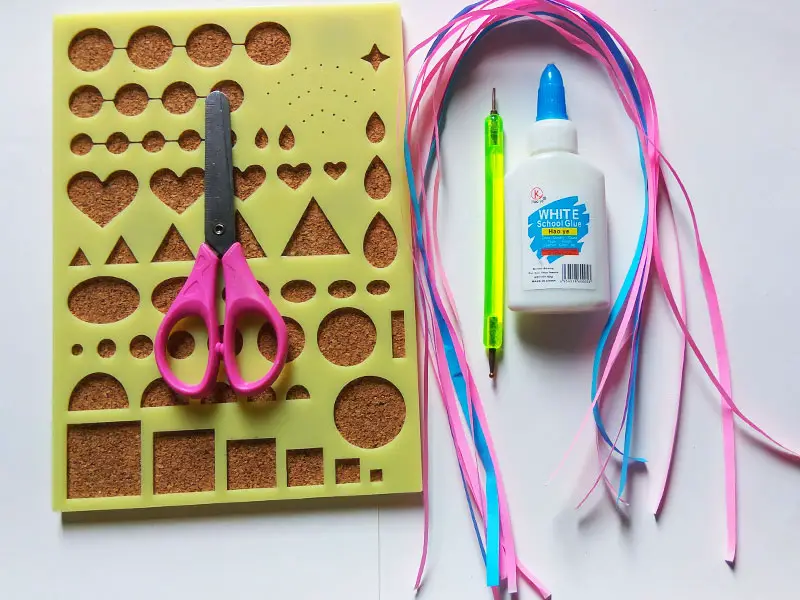
What you need:
First, let’s see what we need to do to make the paper quilling butterfly.
We don’t need a lot of things to make a butterfly.
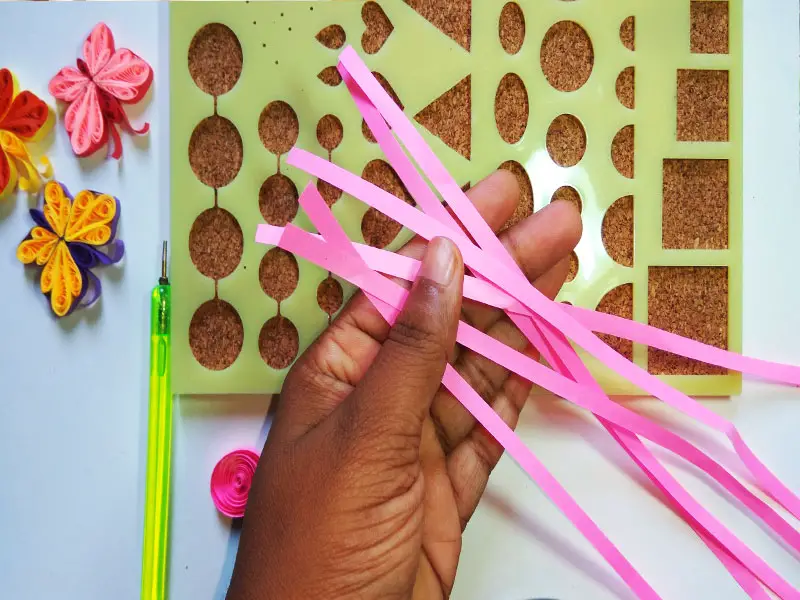
We need paper strips, I named two strips of blue, two strips of blue, and six strips of pink.
We also need a paper quilling pen, quilling board, scissors, and glue. So, these are just a few of the things we need to do to make this quill butterfly.
I made this butterfly using pink and blue, but you can use any color you like for this.
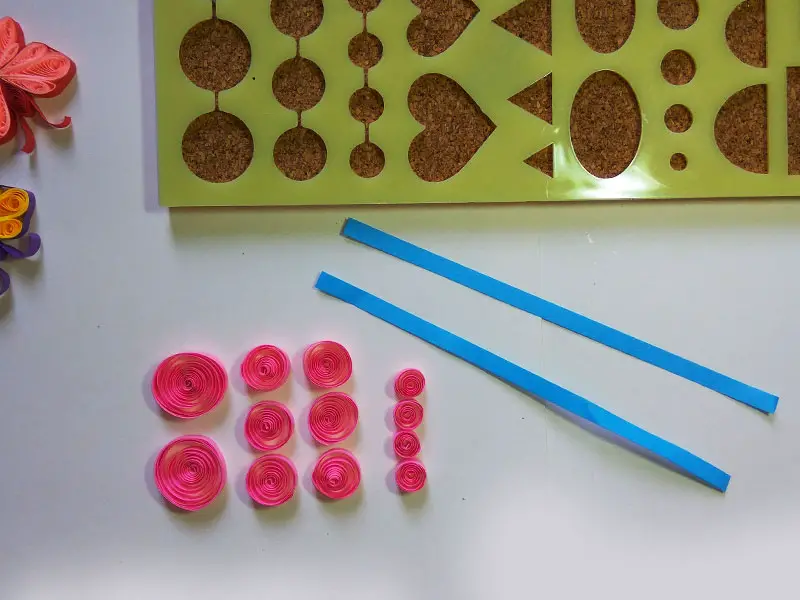
Step 01
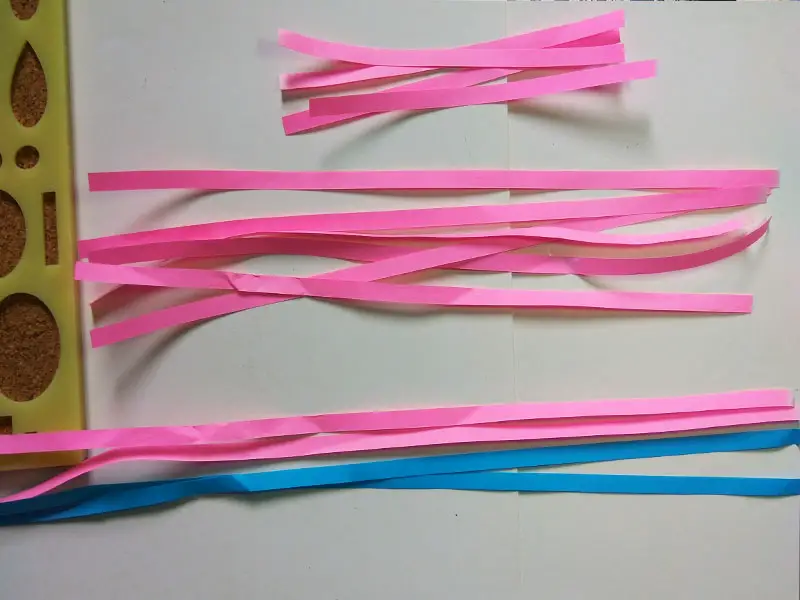
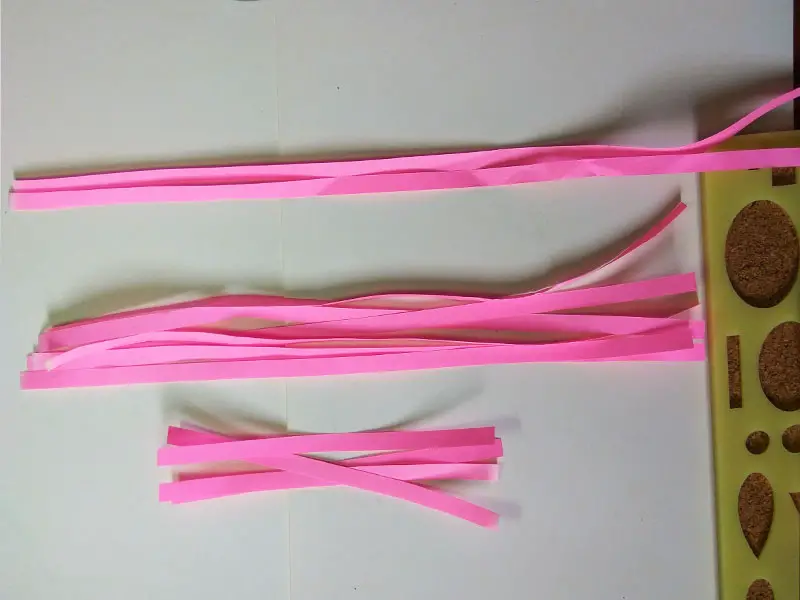
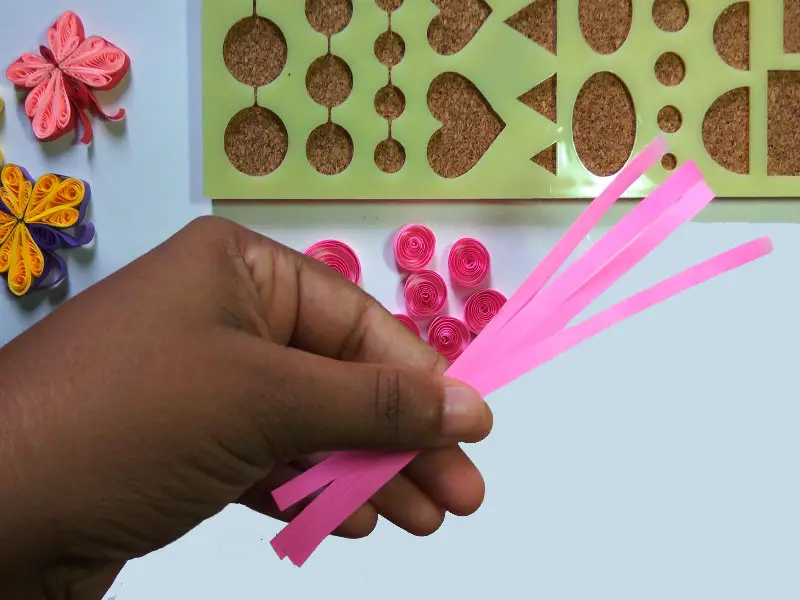
First, we cut the pink strips into pieces. We took six pink strips, two of which we kept intact.
We need to fold the remaining three quarters into two and cut them into six parts.
We still have one strip left.
We have to fold that strip into four and cut it into four parts.
We have now divided the pink strips into sections like this.
The blue stripes we put aside for now.
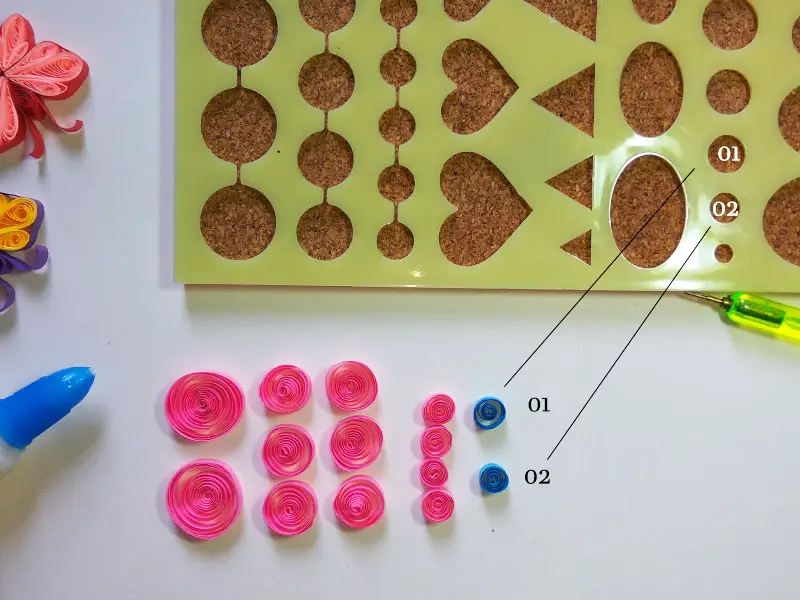
Step 02
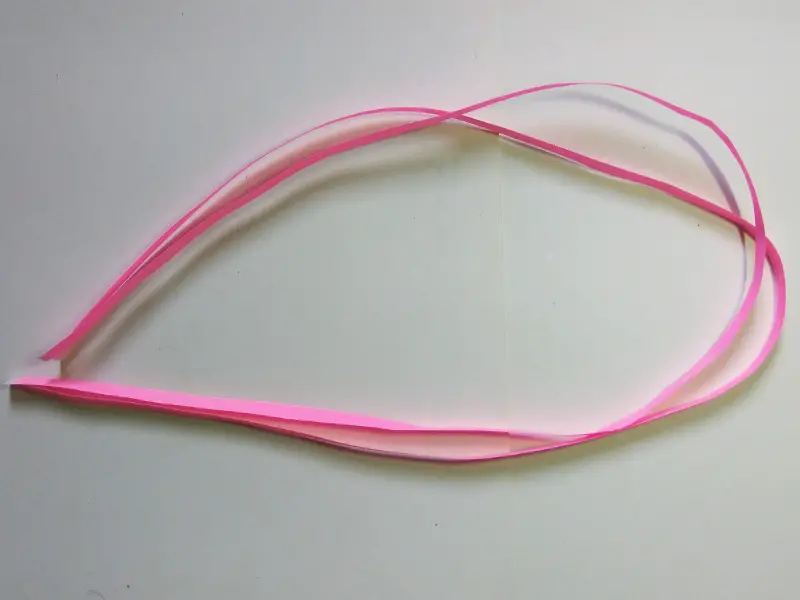
Then, we need to pick up the two pink strips leftover from the cut.
We also need the quilling board now.
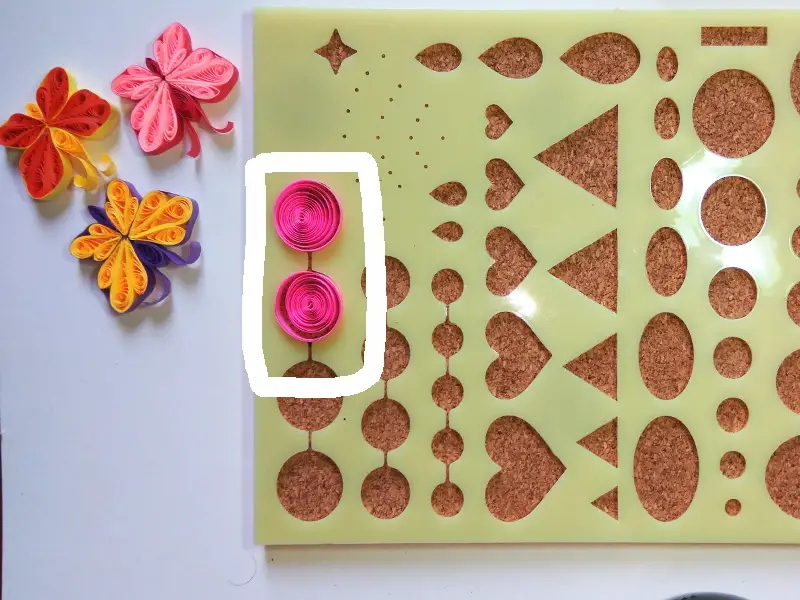
Roll both long strips using a quilling pen.
Roll out the strip and place it on the largest circle of shapes on the quilling board.
When the strip is a bit loose, we need to glue it to the corner.
Roll out both long strips and place them in a large circle.
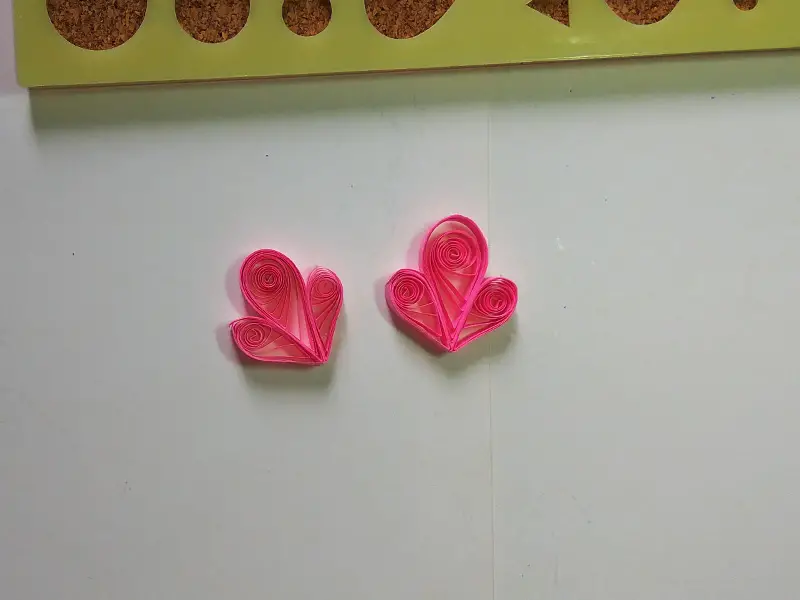
Step 03
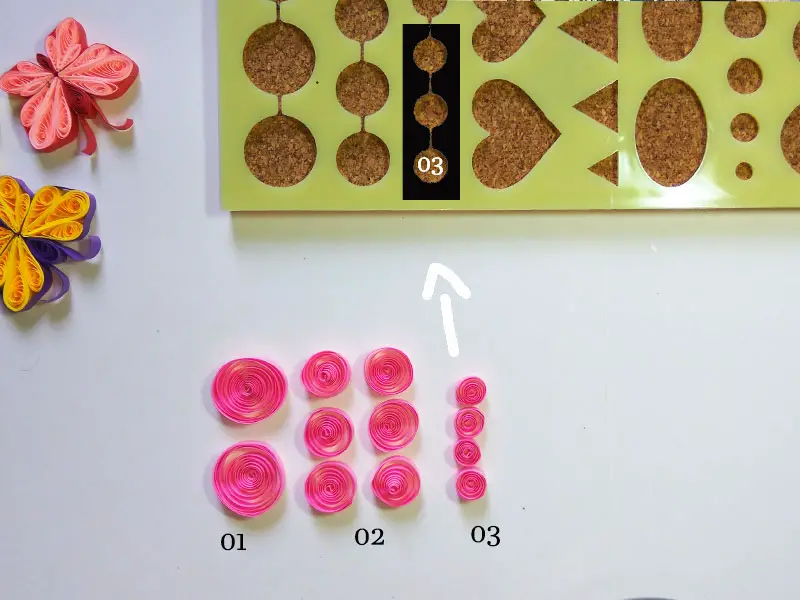
Now we need to roll the pink strips that we have cut into six parts.
Using a quilling pen, roll out the strip pieces and place them in the next circle on the board shown in the picture below.
Arrange the six cut strips as shown in the figure.

Step 04
Next, roll out the four small pieces we cut with the same quilling pen as before.
Loosen and roll the rolled strips.
Put the rolled strips into the third circle as I have shown in the picture, loosen and glue.
The image below clearly shows you how I do it.
We have now rolled up all the pieces of pink paper strips.
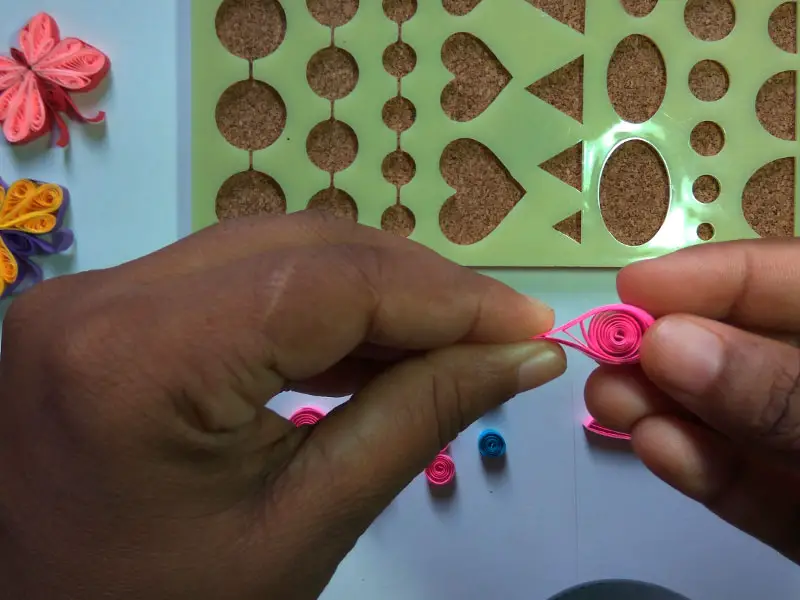
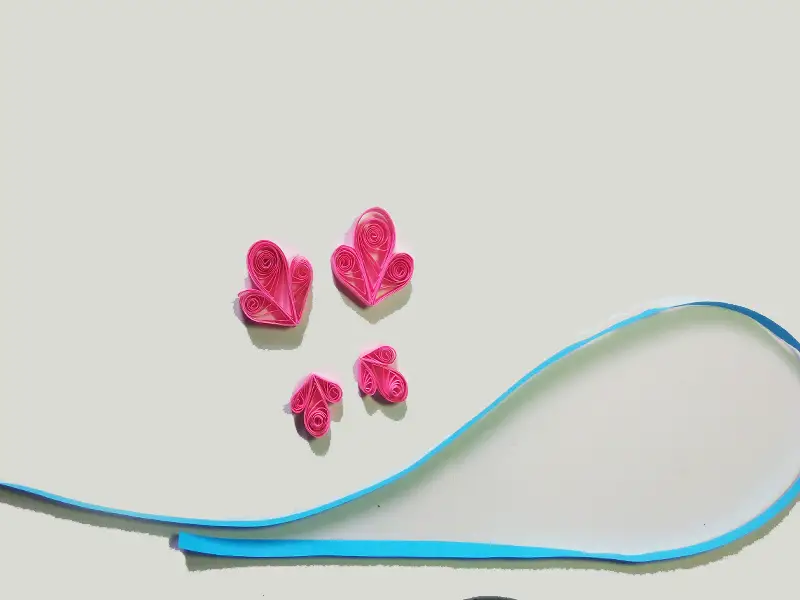
Step 05
Next, cut a strip of blue paper into four pieces.
We only need two parts cut into four.
We need to roll those two parts as well.
First, roll out one part and place the rolled strip in a small circle on the quilling board as shown.
Loosen and glue the quilting board to the size of a small circle as before.
Second, roll out the other blue strip and place it next to the quilling board in a small circle.
You understand what I said, don’t you? See also photos.
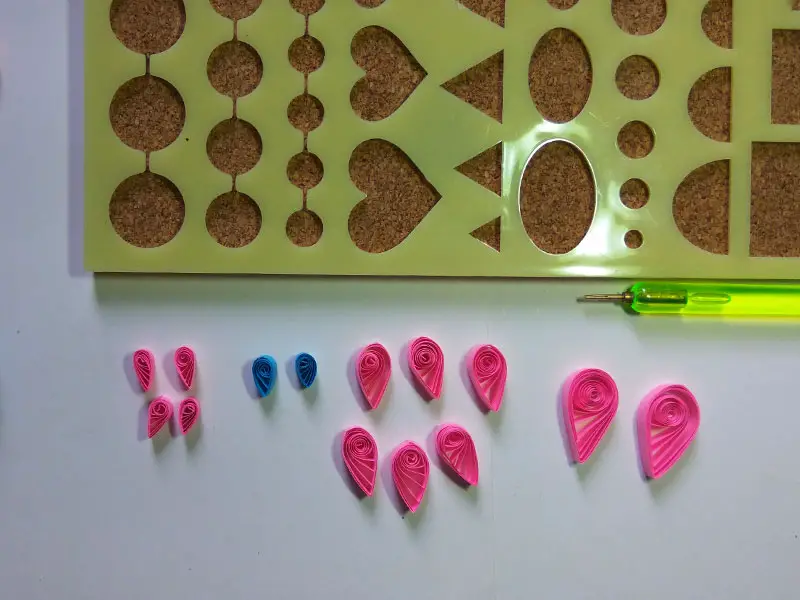
Step 06
We have now rolled up all the paper strips.
Next, roll out the pink stripes and the blue strips into a teardrop shape by hand.
We only need to tighten on one side.
Then it can be made into a beautiful shape. All the rolled parts are finished in the required shapes.
Now, all we have to do is paste the next parts.
Step 07
First, let’s glue the parts to the two parts we created.
First, we need to take apart what we made and glue two parts of the second size to that part on both sides.
That is, stick two of the six large teardrops next to the large teardrop-shaped part.
In this way, glue two small pieces to each of the two large teardrops.

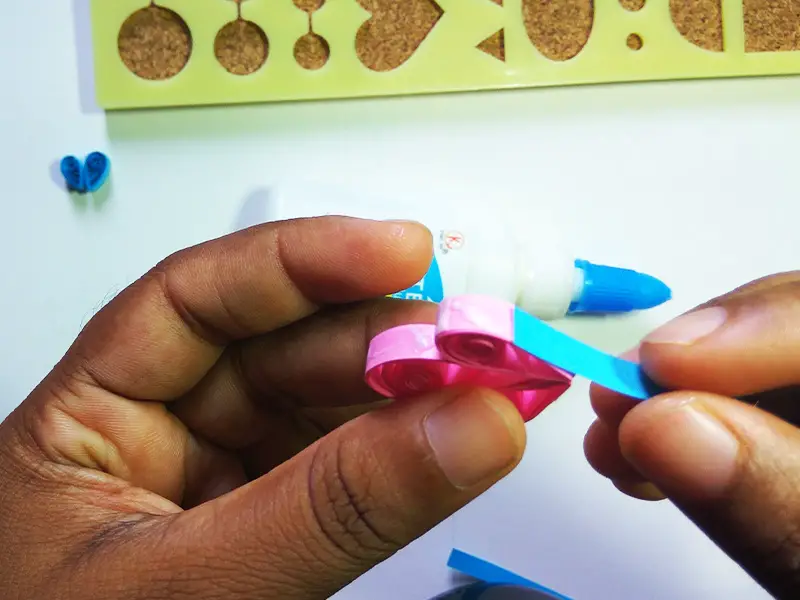
Step 08
We’re pretty much done with the butterfly’s feathers now.
All we have to do is cover all four of our wings with a blue stripe.
To cover, wrap the blue stripe around the wing nicely.
Stick to all four wings that way.
Now we’re done with the wings.
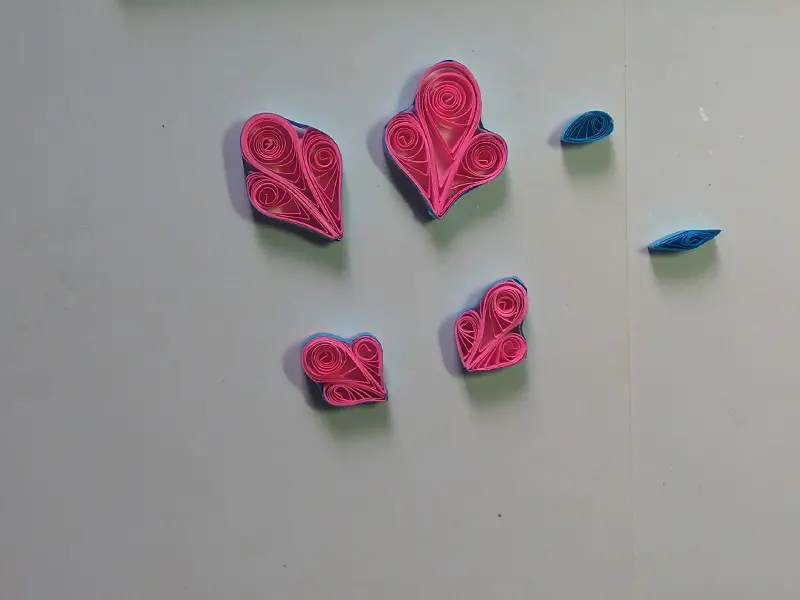
Step 09
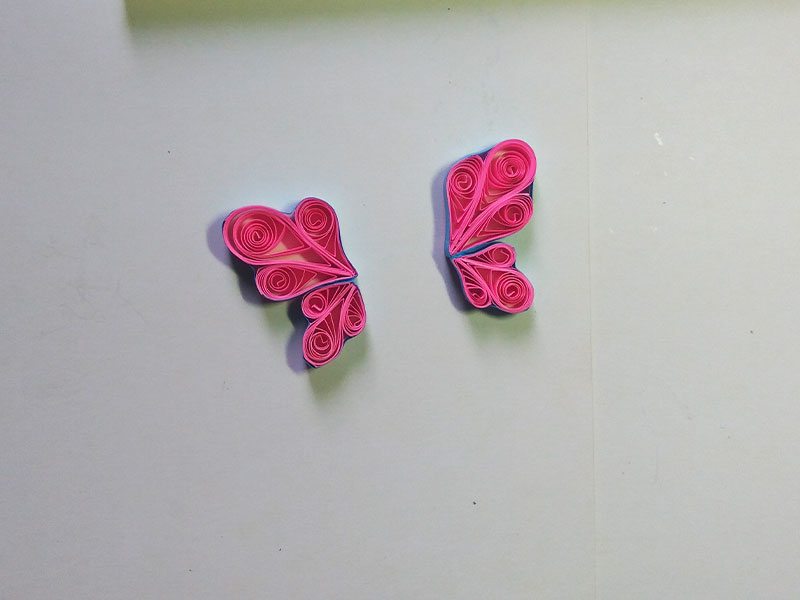
Next, we need to glue the two small wings to the two big wings we made.
We need to glue these two parts together in the shape of a butterfly’s wing.
I have put a photo of how to paste.
Step 10
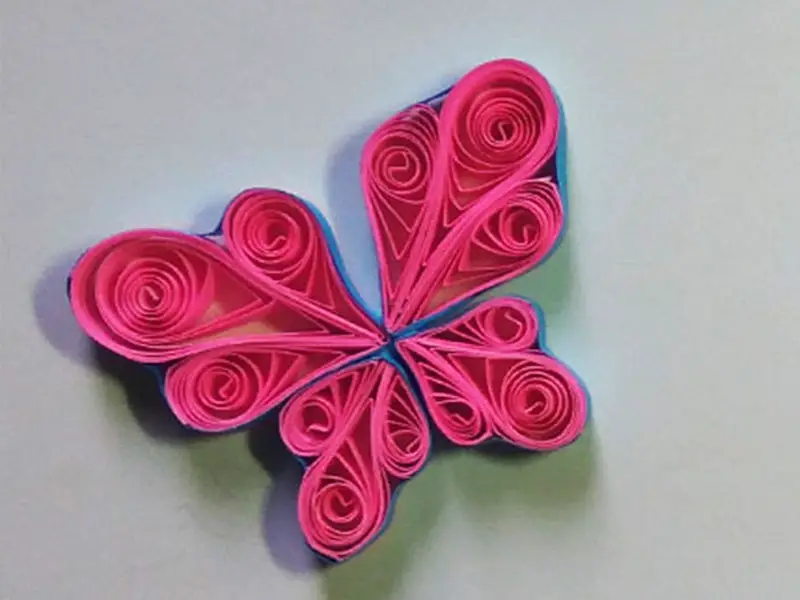
Now glue the two wings together.
The two corners of both parts need to be anchored and glued. When the two wings are glued together, you can see the butterfly as shown below.
Step 11
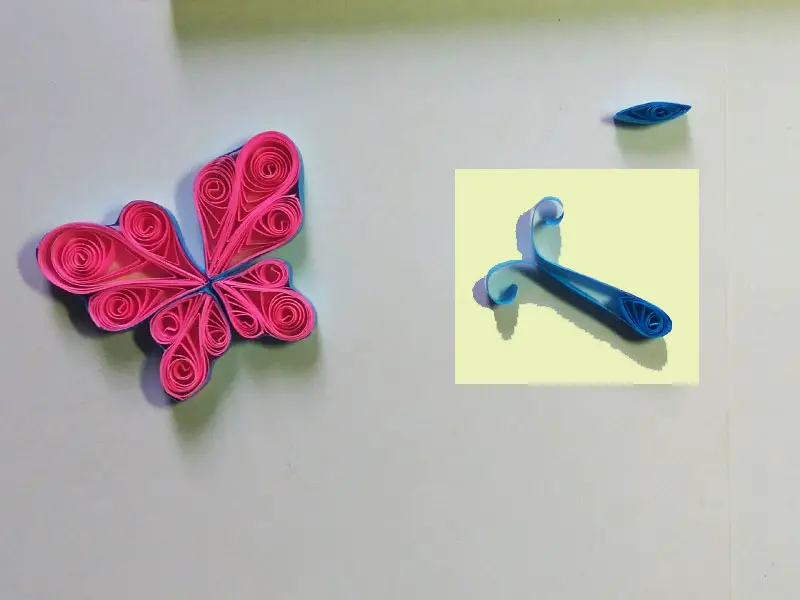
Take one piece of a blue strip that we cut into four.
Fold the section in half right in the middle. Fold in half and roll the corners slightly on both sides.
Roll the corners so that they are slightly twisted.
That is the antenna part of the butterfly.
The part of the antenna we made should be glued to the butterfly’s head.
The head is a large part of the blue part we made earlier, and the antenna part is glued to that part on both sides.
Step 12
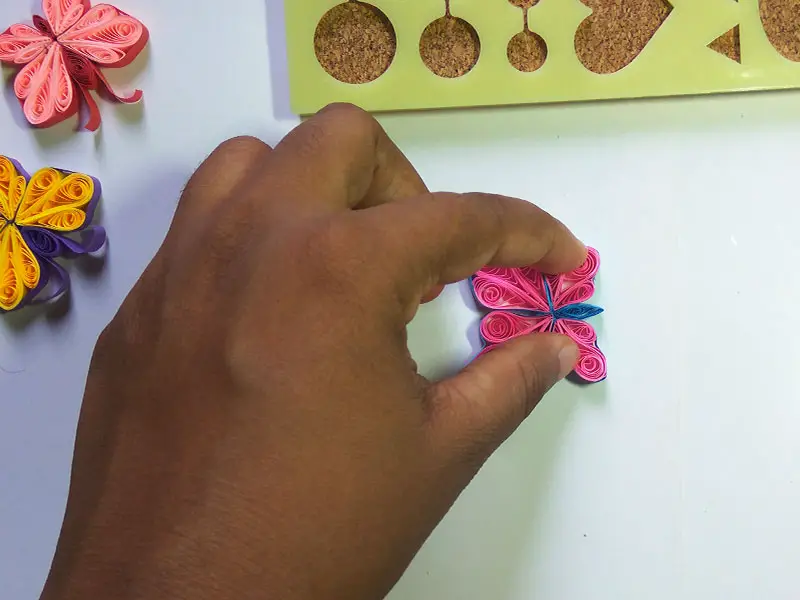
Now we need to stick our head on the butterfly’s body.
Attach the head part of the antenna mount to the center of the side above the large sides of the feathers.
You’ve seen the butterfly’s head stick out like that.
Then glue the abdominal part of the butterfly between the lower two wings.
I have put the photo below.
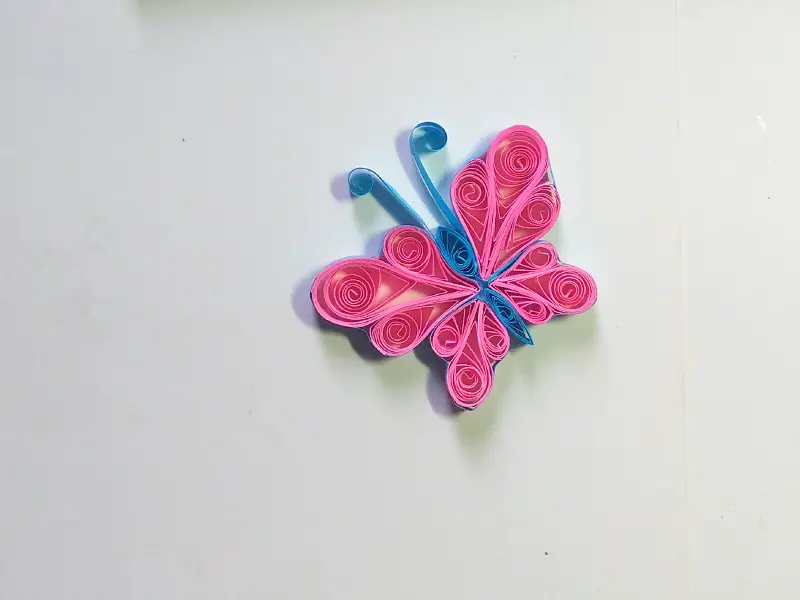
In the end…
If you made the butterfly with me, now you’ve made the quill butterfly.
Now you too can make lots of quill butterflies in more beautiful colors.
Beautiful is my paper quilling butterfly
If you have something unclear, don’t forget to watch the video below. Thank you.
Continue Reading…
How to make a small paper quilling flower?
How to make Christmas tree with paper?
