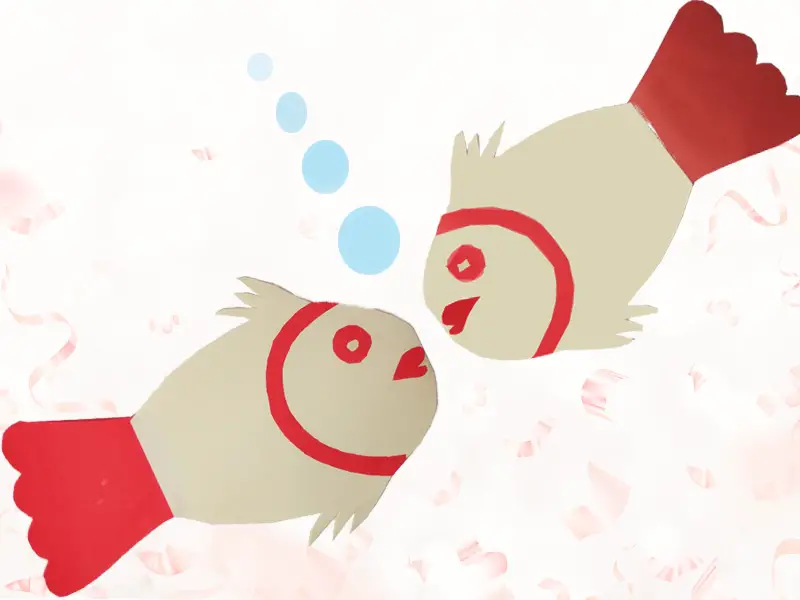
Hi, how are you? Today I am going to teach you how to make something that little kids love so much. That’s how to easily make a fish
We make this fish out of paper.
I’m going to tell you a very easy way, you can make this fish very quickly.
Even though small children need this fish, we can use this design for decoration. Can be used especially for wall hangings and hanging decorations.
So now let’s see what we need to do to make this fish.
Contents
How to make a fish easy
What you need:
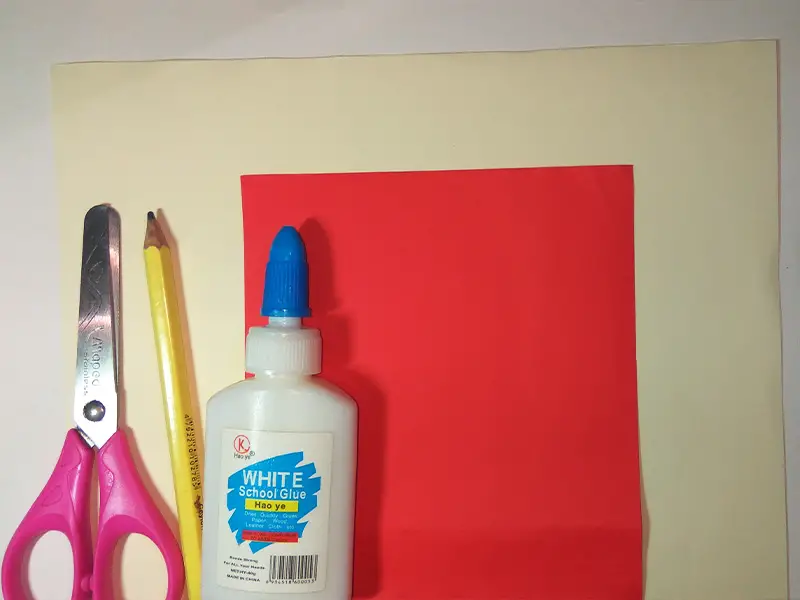
We need colored paper. Pick a color of your choice. I have taken two pieces of red and light yellow paper.
We also need a pencil, scissors, and glue
So these are the things we need to make our own fish.
Get your things ready first.
Way of the making…
Step 01
So now we start making fish.
First, I cut a 22 cm x 10 cm section as shown in the image below.
Cut out that piece of paper yourself.

Step 02
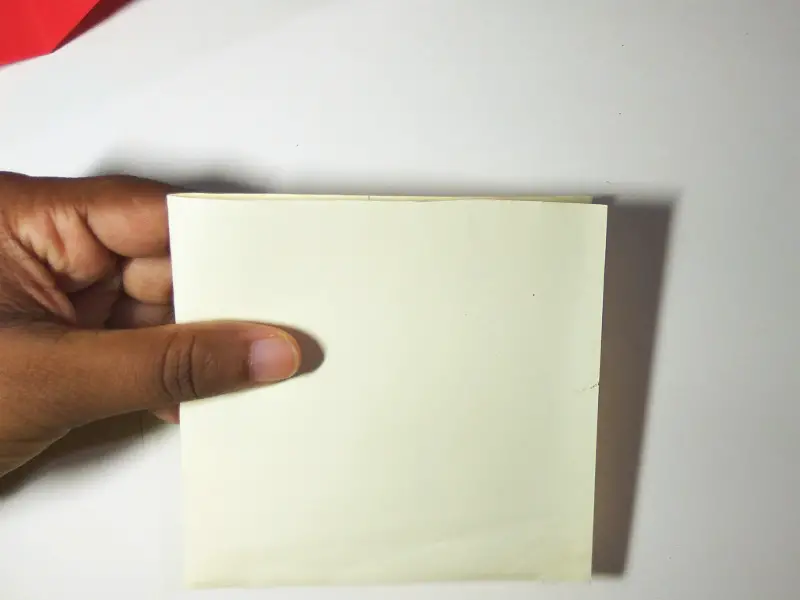
Fold the cut in half. We do not have to fold the length.
The paper should be folded between the two.
Step 03
Then draw the two folded pieces of paper as I have shown in the image below.
That’s how we draw the body part of the fish.
You need to cut out the image you have drawn. We folded in half so we had two parts in the cut. We do not cut the two parts apart. Do not cut and remove the bend.
I have put photos of all of you. It will not be confusing to you.


Step 04
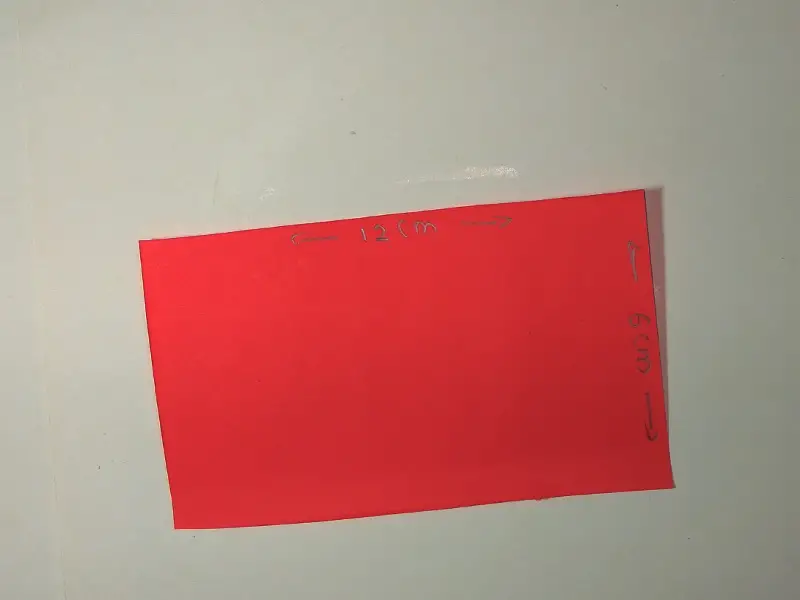
Now put the cut part aside and take the other colored paper we took and cut it apart to the measure (12 cm x 6cm) that I have put down.
Step 05
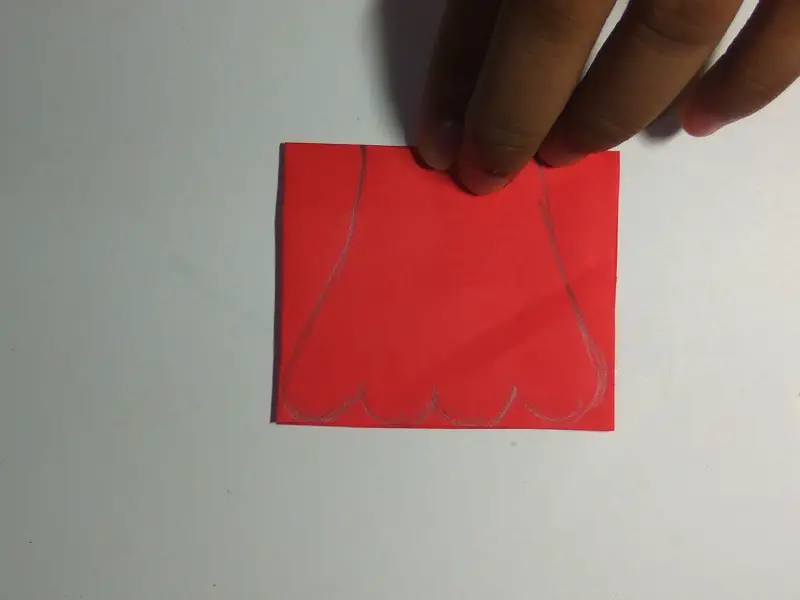
Then fold the part in half as before. Fold in the middle as before.
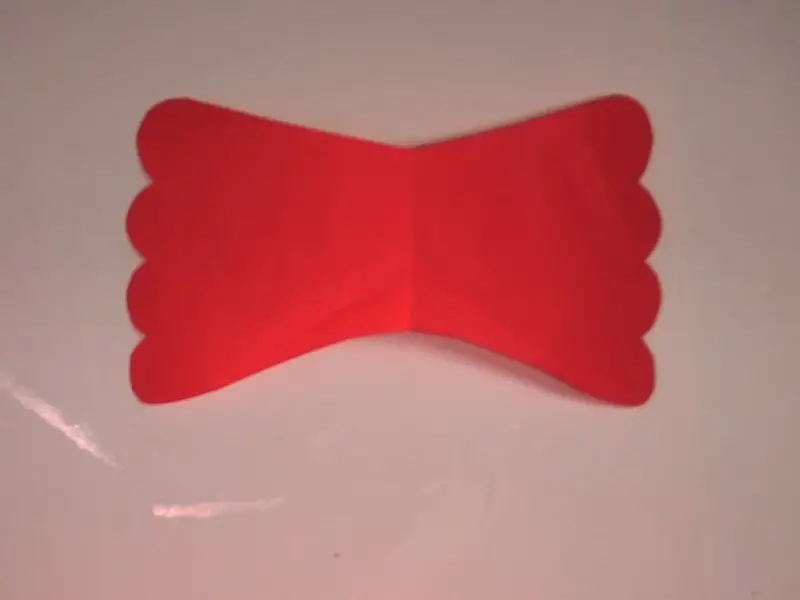
In the folded part we pull the tail of the fish.
I have put a photo of how to draw the tail.
Drag as you put it down. We have to cut that part too.
Remember, do not cut that part apart.
Step 06
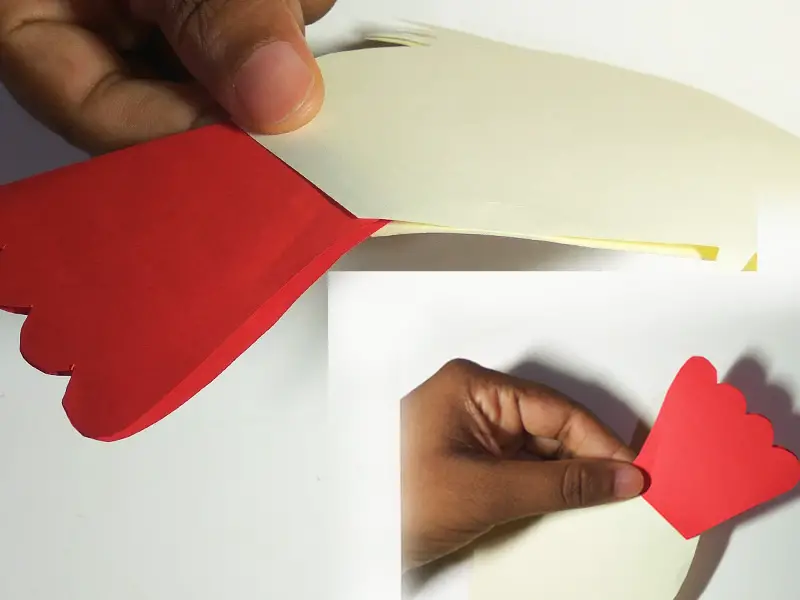
Now we need to glue the two cut parts together.
Put the body part of the fish and the tail part together and stack them neatly.

Step 07
Next, we are going to fix the fish’s eye.
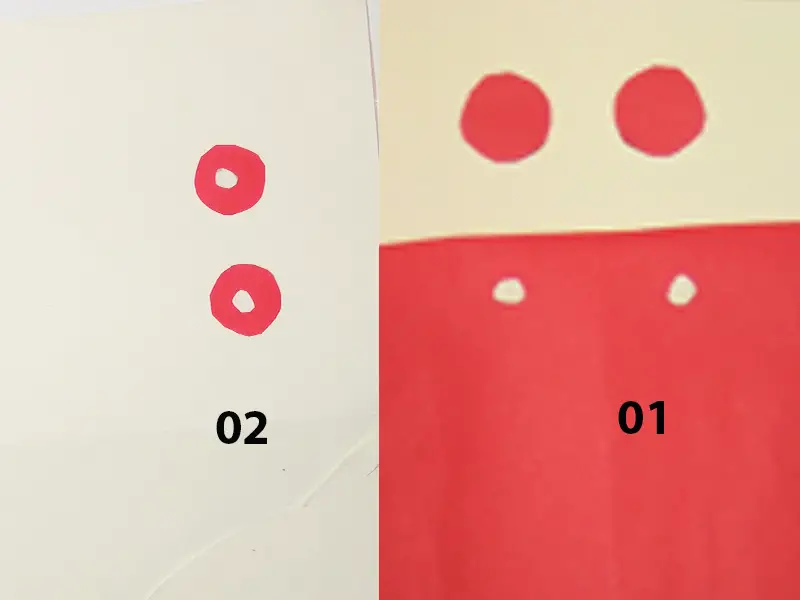
You need to cut circles out of the two pieces of colored paper you took together.
Two circles of the same size in one color. On the other side are two small circles.
We need two smaller circles, and two smaller circles.
Glue the small circle in the middle of the large circle into two large circles and make two sections.
Step 08
Glue the two eyes we made to the sides of the fish.

Step 09
Next, we need to cut a piece of paper the size of the fish to her size.
Fold the section in half as before.
Fold in half and draw as shown below.
Cut the drawn part into two parts.

Step 10
Glue the two pieces we cut to the sides of the fish. Paste as in the photo.

Step 11
Now, all we have to do is make a fish mouth.
Take a small piece of your paper. Just a piece of paper the size of a fish’s mouth.
Fold the fish in half and draw the mouth of the fish.
Here I told you to bend it to a square to make it easier for you to cut both parts at once.
Now glue the fish’s mouth to both sides.

Finished…
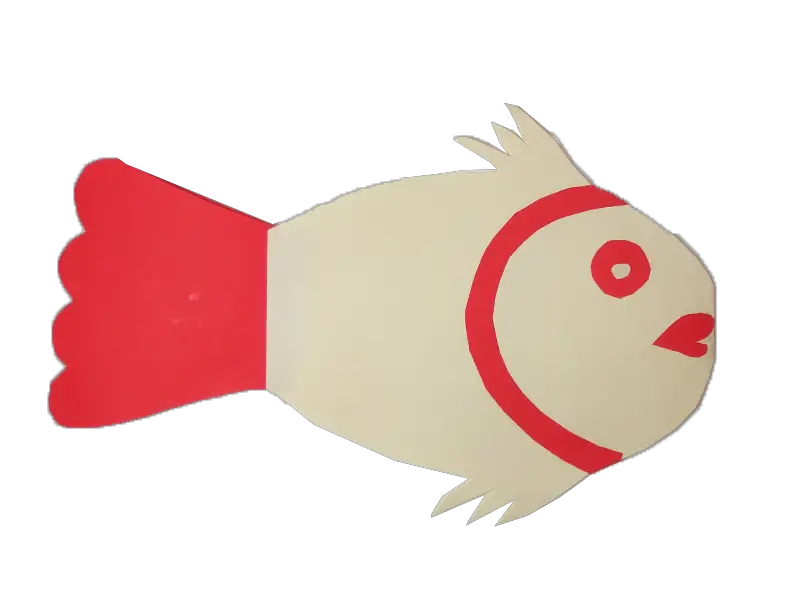
Now you too have made a beautiful fish. Now you can make fish with your little ones.
Then give it a try.
If you have something unclear, don’t forget to watch the video below. Thank you.
Continue Reading…
How to make paper quilling stars
How to make flower using paper quilling (simple)

