Christmas is an unforgettable day when we celebrate the birth of the Lord Jesus. So, Christmas is a time of peace in the hearts of all who are in a trance.
Everyone loves to do different things, from new designs to beautify homes for Christmas. We use a variety of decorative items to decorate our home and environment.
So today, I am going to teach you how to make Christmas socks from paper. I’ve already told you some of the decorations you need for Christmas. Today we are getting ready to make new Christmas decorations, Christmas socks, then add them to your Christmas decoration design collection.
I always use things that you can easily find in my designs. We’d going to start making Christmas socks designs now.
Today I am going to teach you three Christmas stockings designs.
So, let’s see what we need for this soon.
Contents
How to make paper Christmas stockings
What you need:
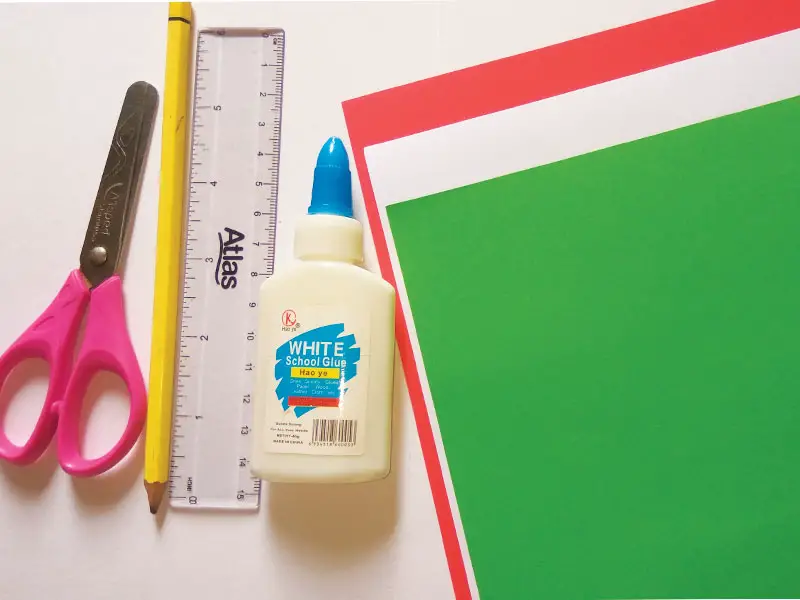
We need to make these Christmas stockings of colored paper. We know that red and green are the two unique colors for Christmas. Blue and white are also used for Christmas decorations.
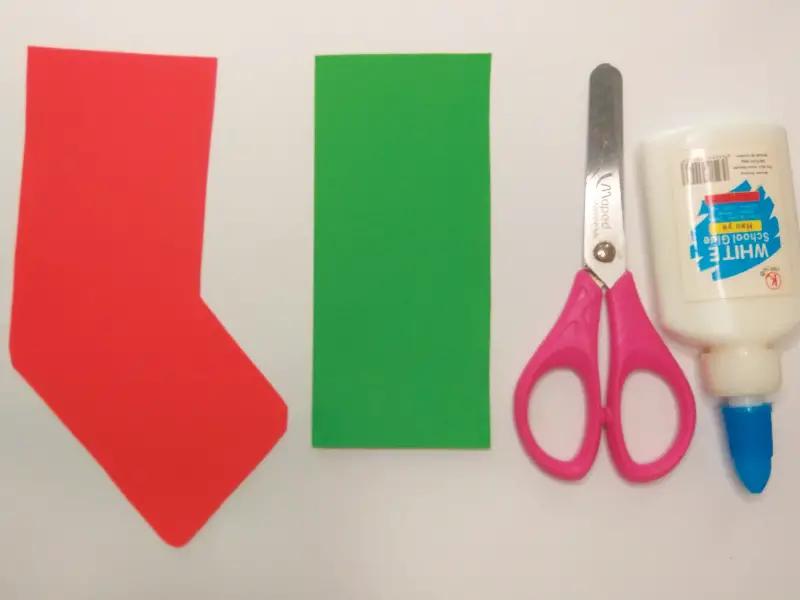
I took a red paper and a green one as well as a white paper.
I also took scissors, a glue bottle, a ruler and a pencil.
Those are just some of the things we need to do to create Christmas stockings.
Way of the making
Step 01
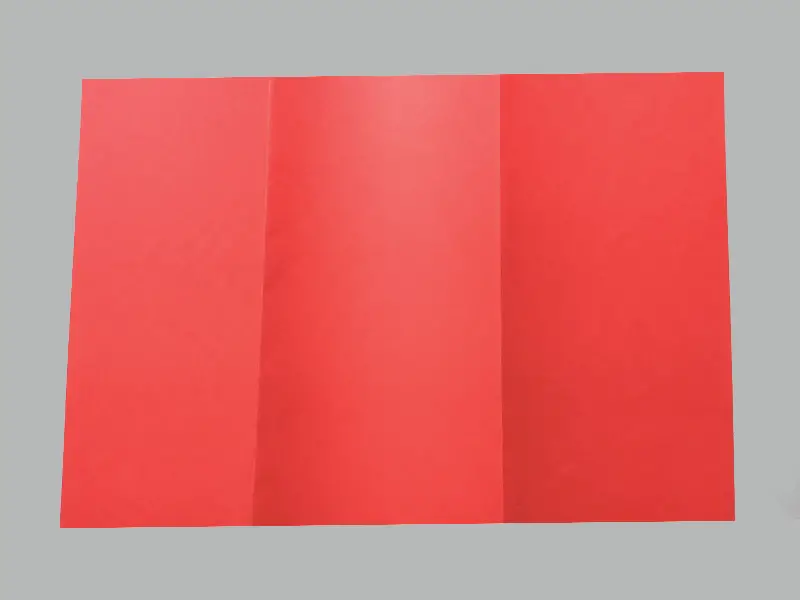
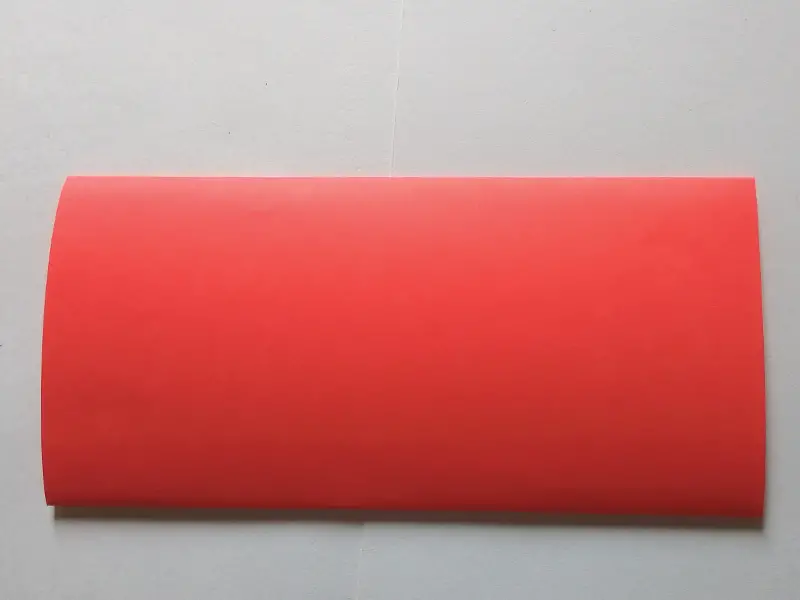
Take the red paper first. Fold the red piece into three equal parts.
When folding, fold to the broadside, not the long side.
Step 02
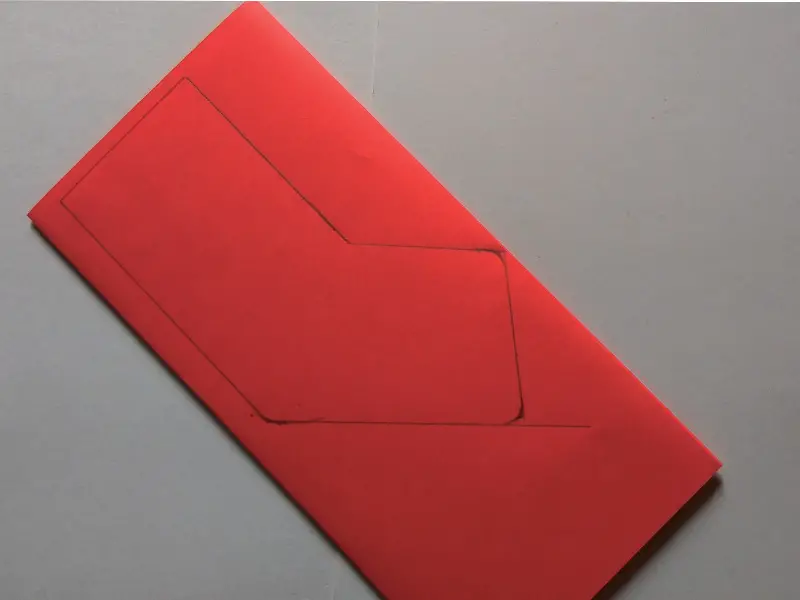
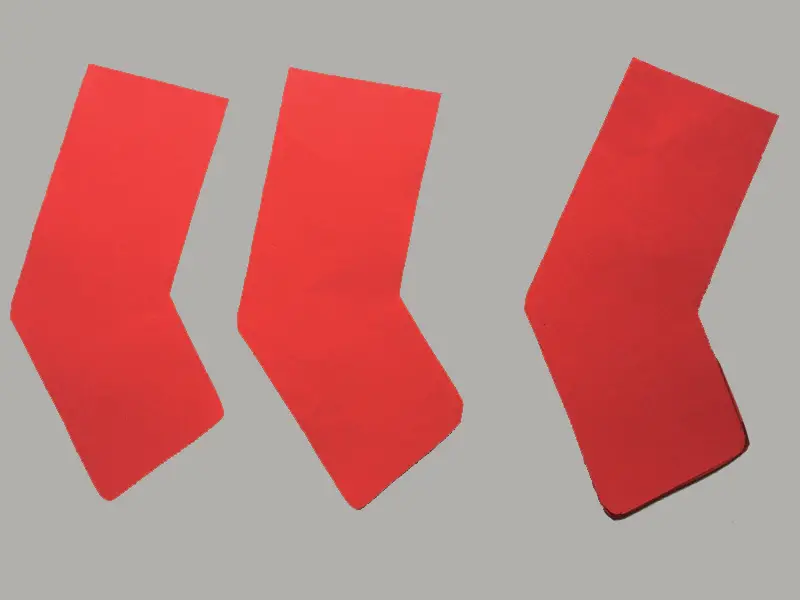
We have folded into three parts because we make three Stockings designs. Draw the stock on the folded paper as shown below.
Step 03
We make three designs of Stockings, so they are folded into three parts. Draw the socks on the folded paper as shown below.
Cut the Stockings nicely.
First Design
Step 04
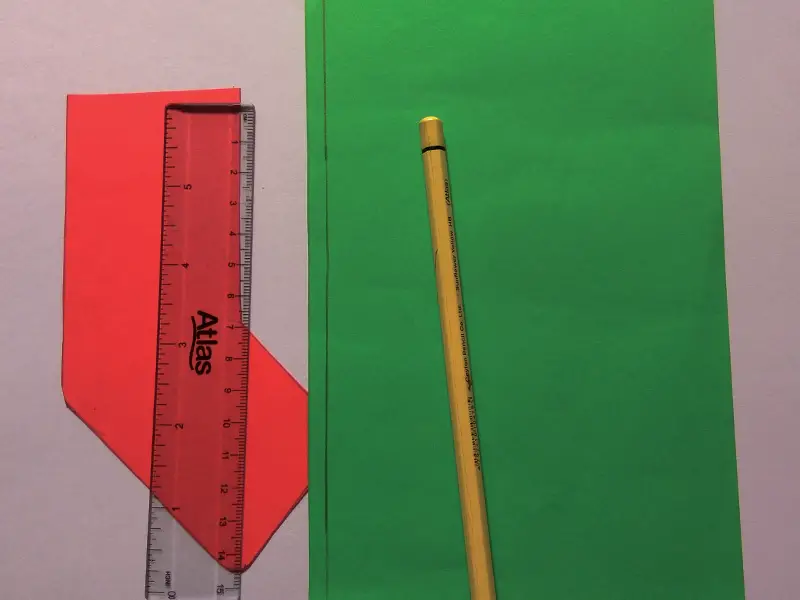
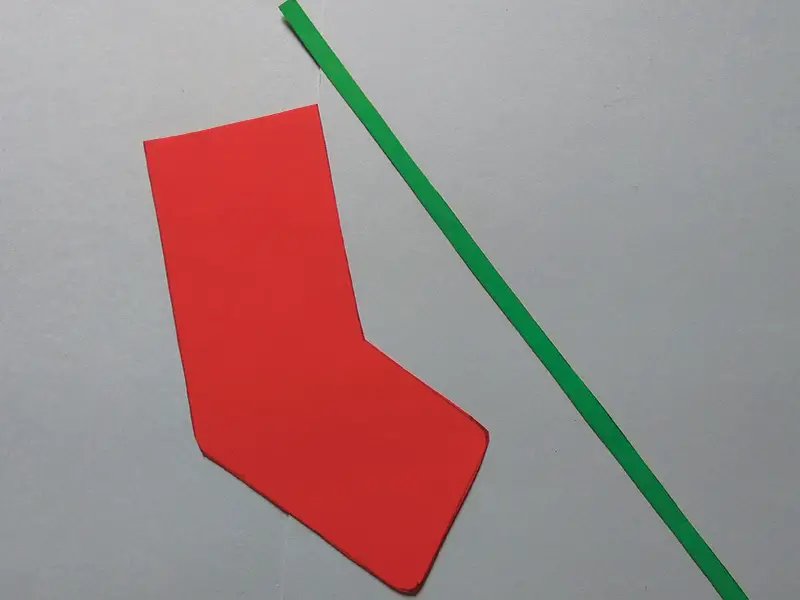
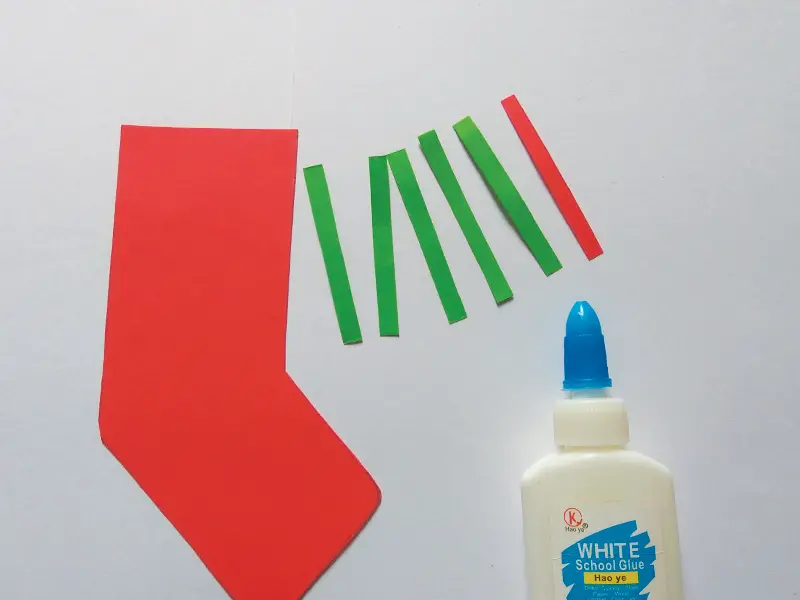
Let’s take one of the first cut socks. We need a green paper now. Draw a 5 mm strip of green paper.
Step 05
Cut a 5mm green strip. Cut the cut green strip into five pieces the width of the socks we missed earlier. Cut a red strip the size of one green ribbon.
Step 06
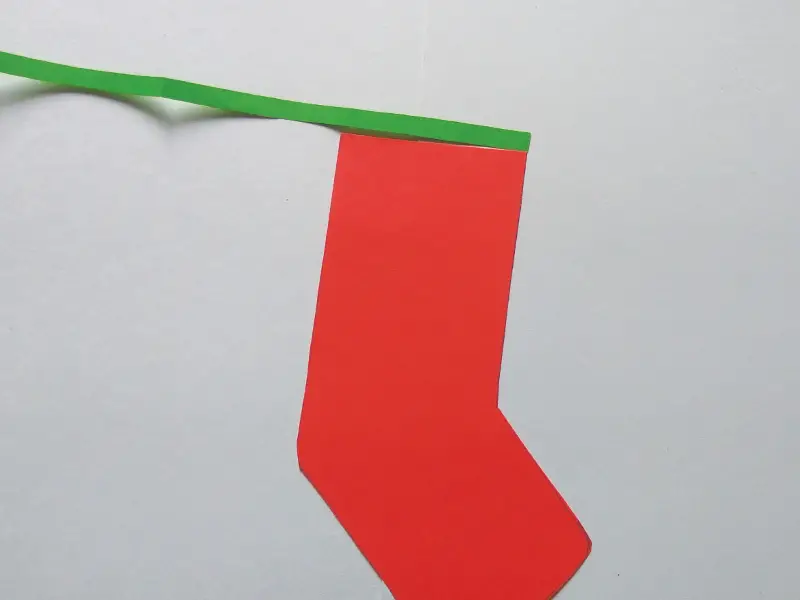
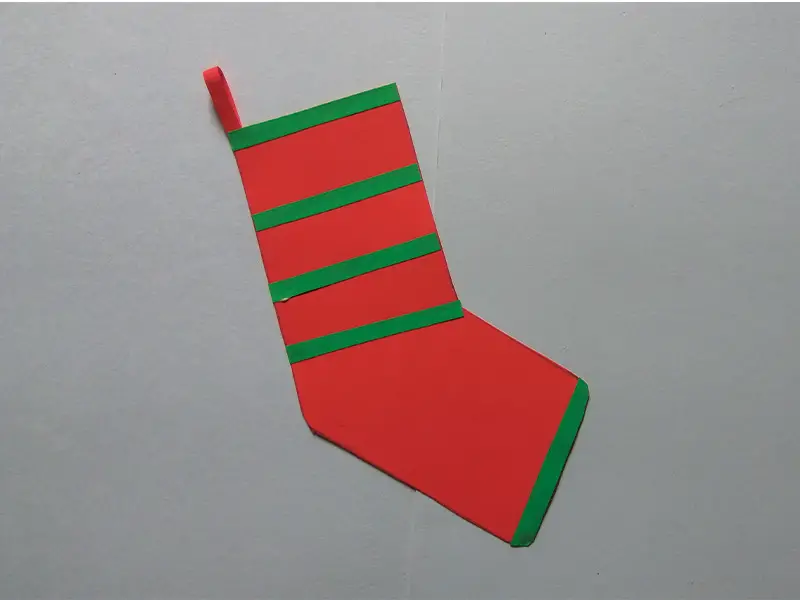
First, you need to paste the green strips. Stick the first strip on top of the socks. Glue another strip of cut to the bottom. Glue the remaining three parts below the top part.
Finally, glue the red stripe on the back so that the stockings can be hung. We have now completed the first stockings. Let’s start making a second Christmas sock now.
Second Design
Step 07
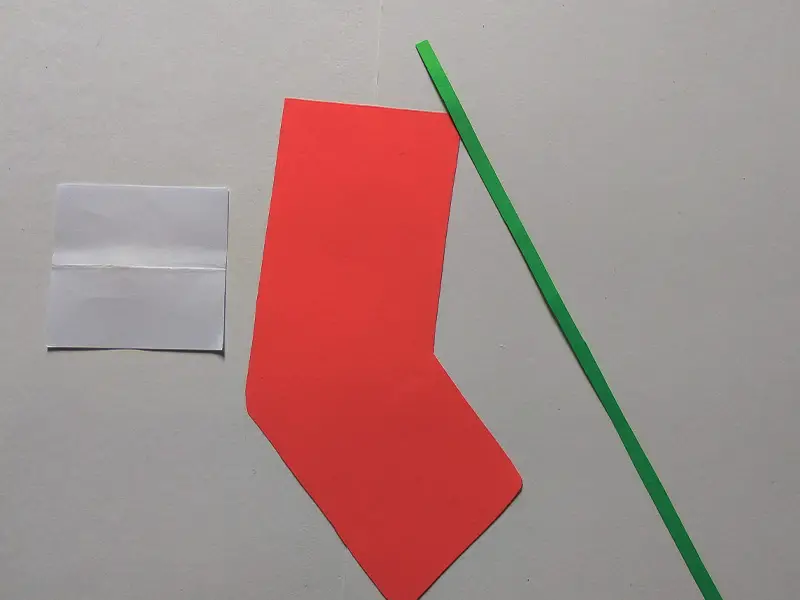
To create the second Stockings, we need one of the first cut red socks and a green stripe, and a small piece of white paper as wide as the sock.
Step 08
The piece of white paper we take should be the width of the sock. The width of the white part should be about 4 cm.
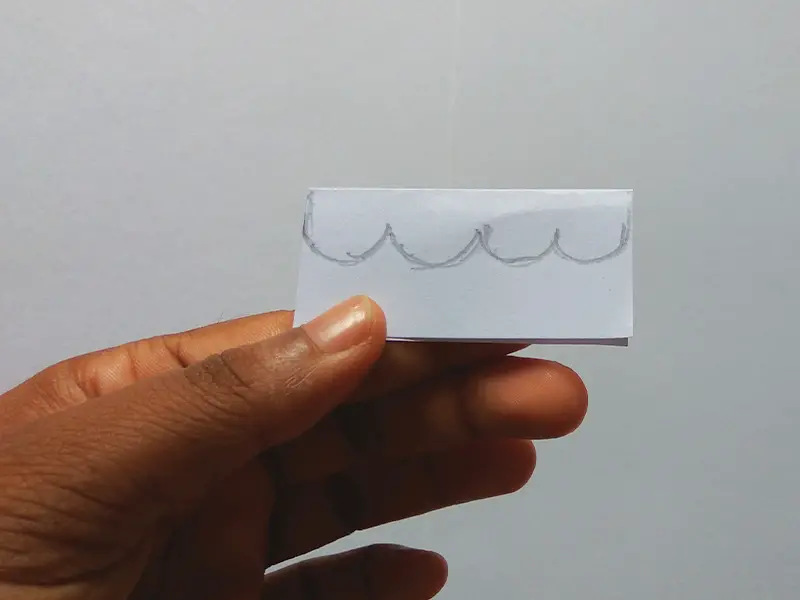
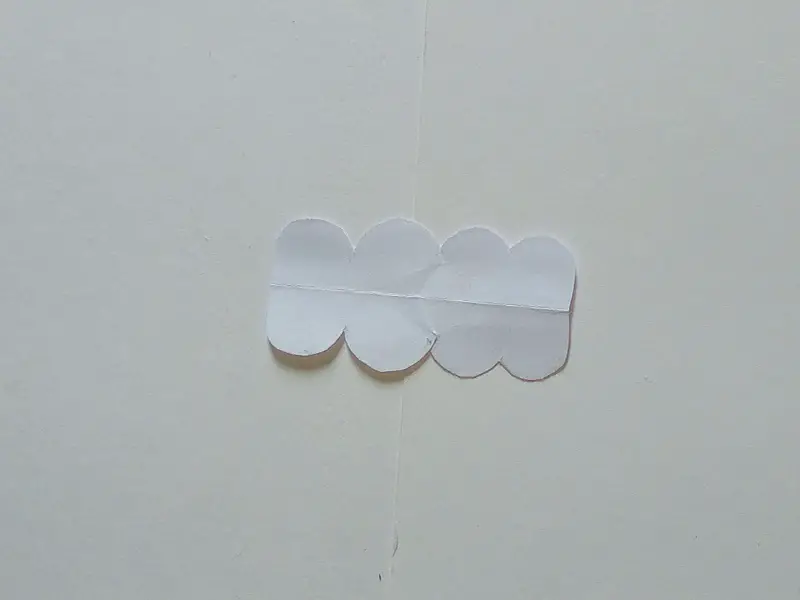
First, fold the white cut into two halves. Bend in the middle so that it comes to 2 cm on both sides.
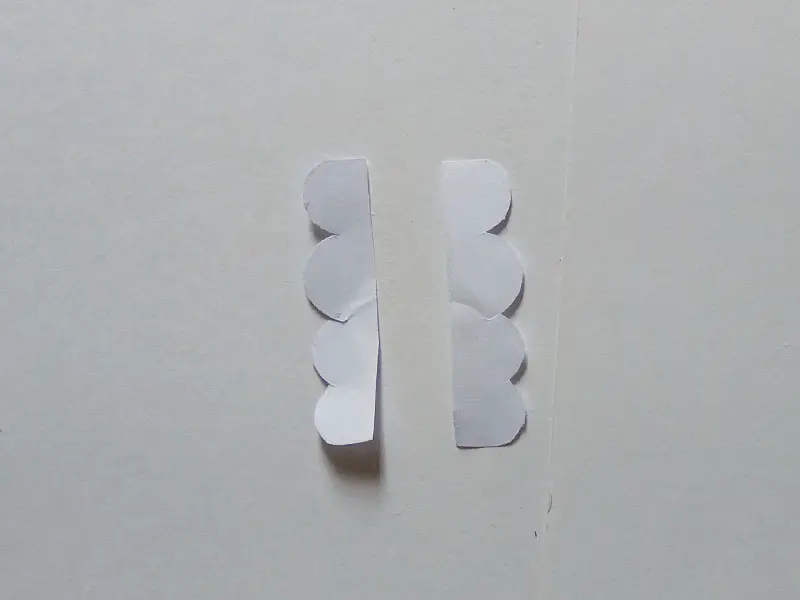
Then draw the folds on the folded white part as shown in the image below. (Sea waves)
Cut off the corrugated section.
Step 09
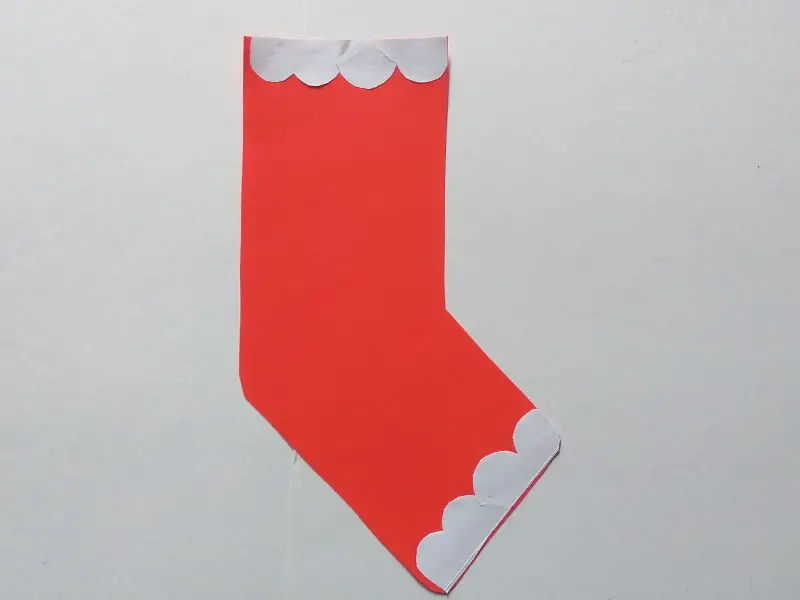
Paste the two cut white sea waves into our stockings.
Paste one part on top. Stick the wavy side down.
Paste the other part at the bottom of the stockings. Glue so that the wrinkles are on the inside.
Step 10
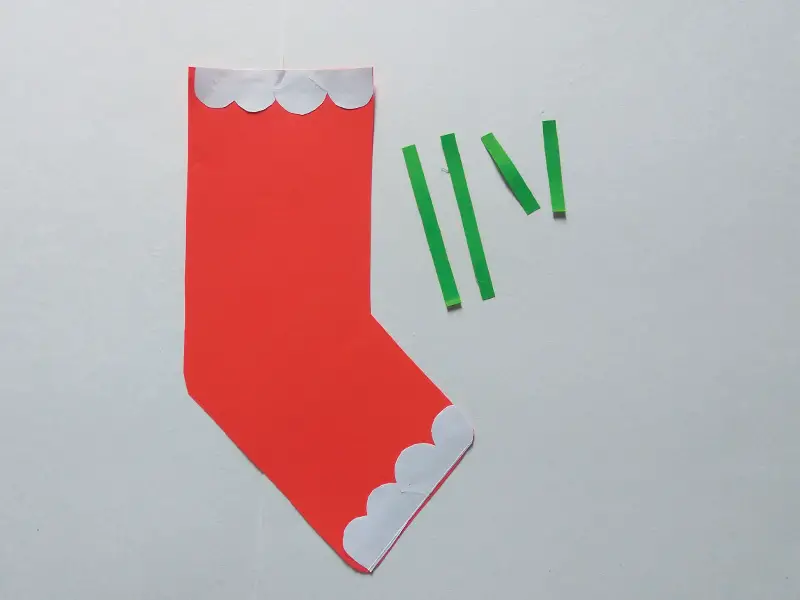
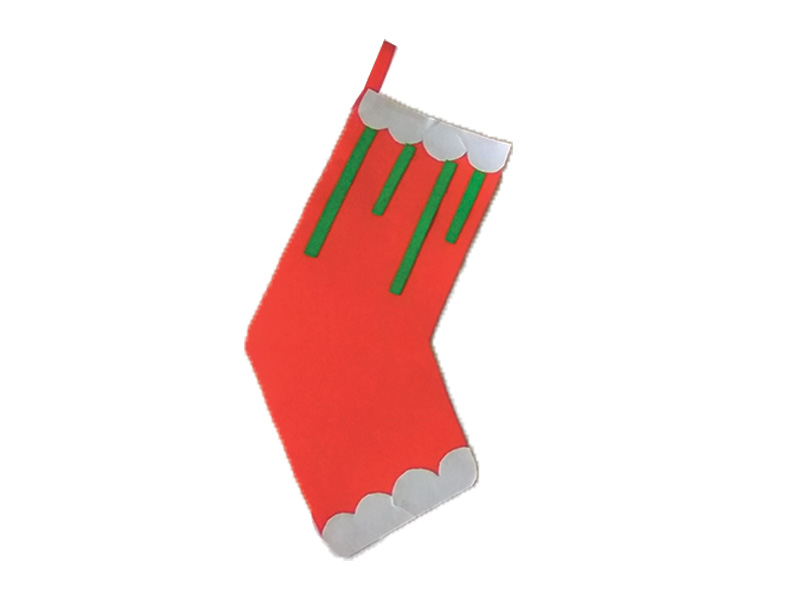
Next, cut two pieces of the green paper strip the same size as the green strips we cut into the previous design.
Also, cut two pieces about half the size of those. We need all four parts—two parts in length and two parts in half.
Step 11
Glue the cut green pieces in four lengths, one by one.
Stick the green strips one by one, short and one below the white part of the sock.
Make a red strip to hang these socks on as before.
Third Design
Step 12
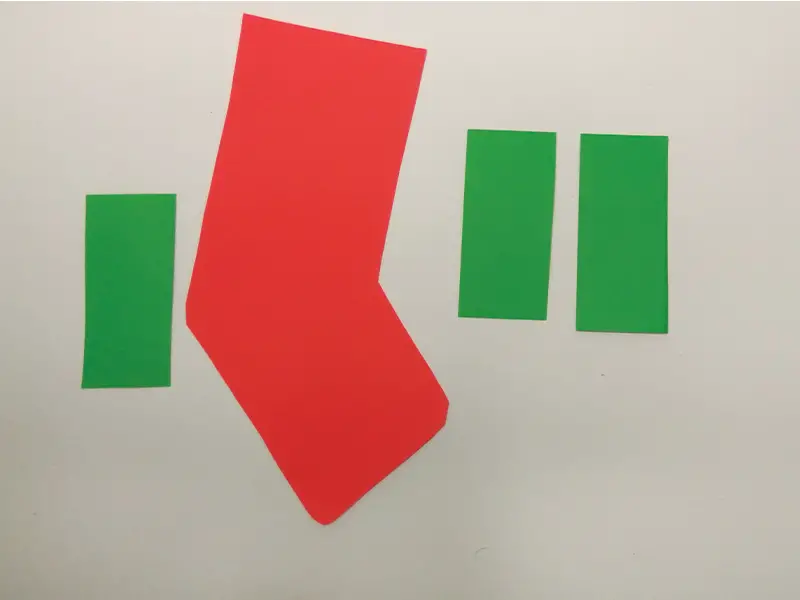
To create the third design, we need the original cut red socks.
The last of the three socks we cut is the one we are going to design now.
I have already taught you two designs.
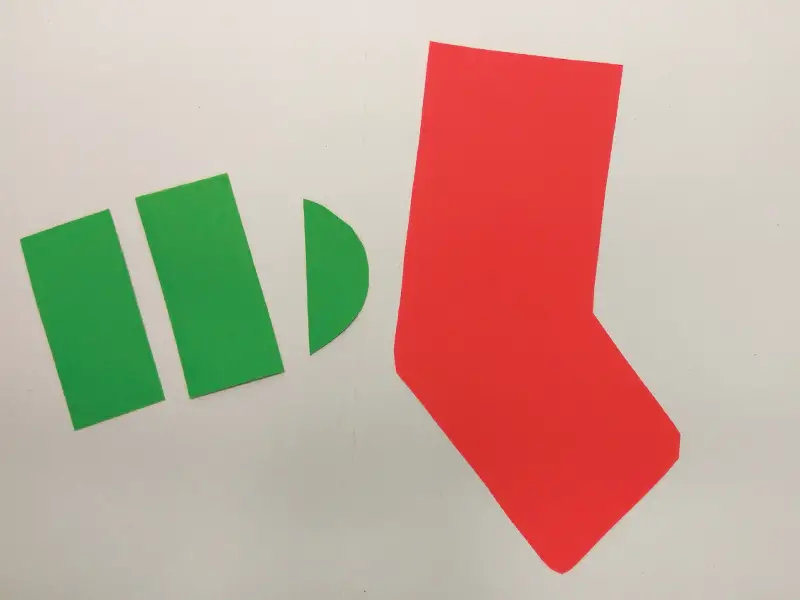
We also need three pieces of green paper about 2cm wide, cut to the width of the sock.
Step 13
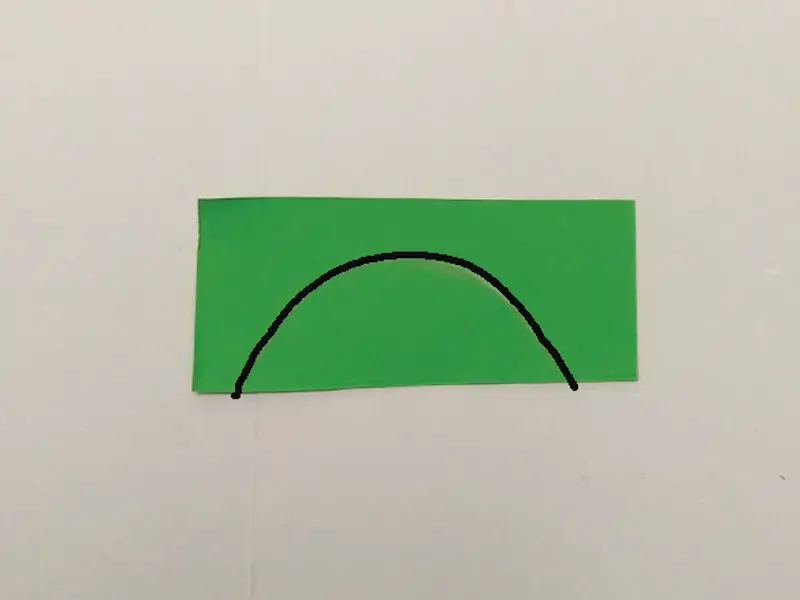
Cut one half of the cut into half circles, as shown below. Cut the cut green part to the size of the bottom of the sock (half round).
Step 14
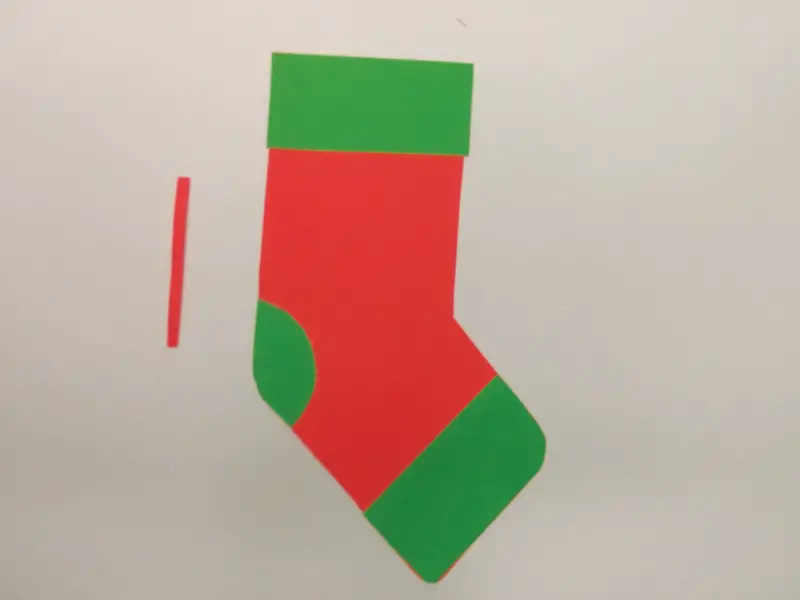
Glue one of the cut green pieces to the top of the sock. Paste the other part at the bottom. Paste the cut part in the middle of the circle.
I have put a photo of how to paste it to make it clear to you.
Step 15
Glue a piece of red stripe over the top to hang at the end.
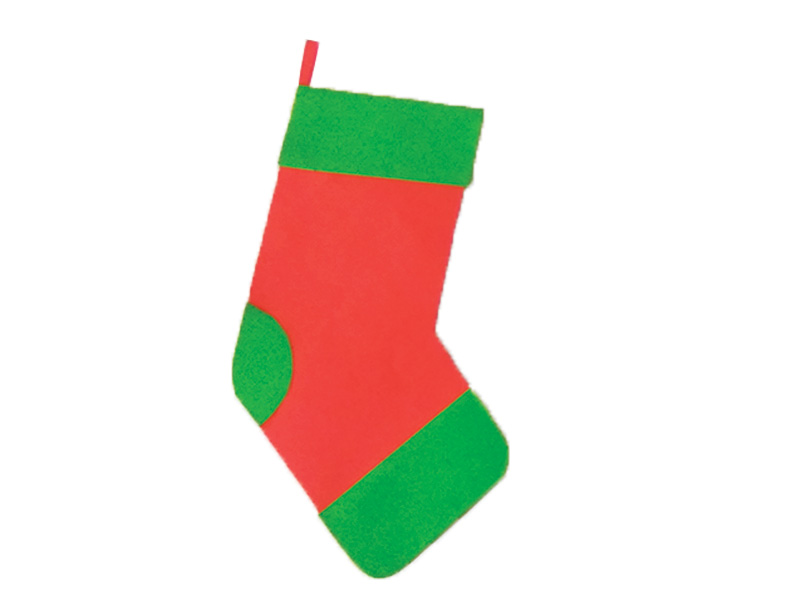
We have now completed the final design.
Finished
Here we are now making three Stockings designs. You can make many of these stockings and put them together as a vine and decorate them beautifully. This time I have taught you some beautiful Christmas decorations for Christmas. So, you can decorate this Christmas beautifully with your handmade decorations. So, start creating Christmas decorations right now.
Merry Christmas to all

If you have something unclear, don’t forget to watch the video below. Thank you.
Continue Reading…
How to make Christmas tree with paper?

