Today we are going to look at how to make a Ninja Star or Shuriken.
Here’s how to make a Ninja Star using one piece of paper.
Before that, let’s find out what Ninja Star or Shuriken is and why Ninja star used it.
Although we now call it the Ninja Star, the Japanese call it the Shuriken, a hidden weapon. They used it as a secret tick or Metsubushi to divert attention or mislead. According to books, They have created ninja stars of various shapes in the past, also known as throwing stars or ninja stars.
Let me tell you very briefly about the Ninja Star.
Now let’s see how to make this Ninja Star.
Contents
how to make a ninja star with 1 paper
What you need:
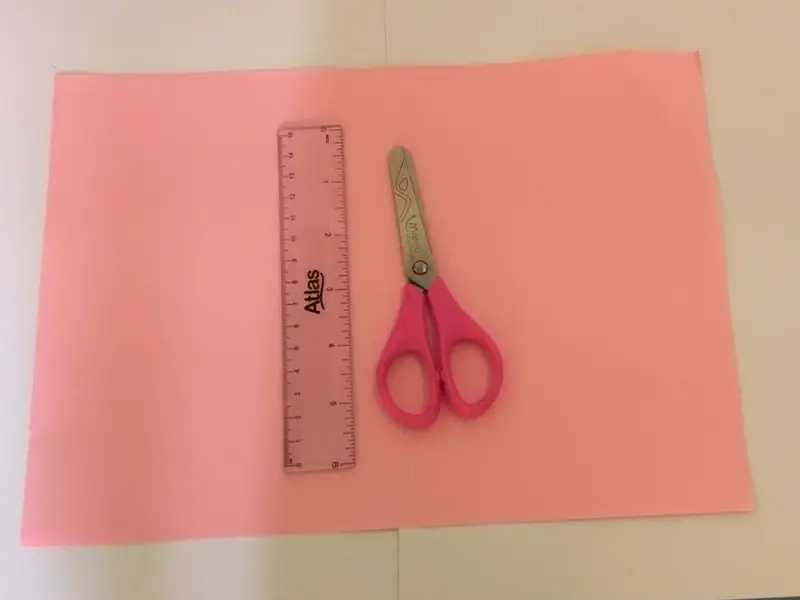
All we need for this is one A4 sheet. And scissors and a ruler.
That’s all we need for this. If you’re ready, we’re starting to make Ninja Star now.
Way of the making…
Step 01
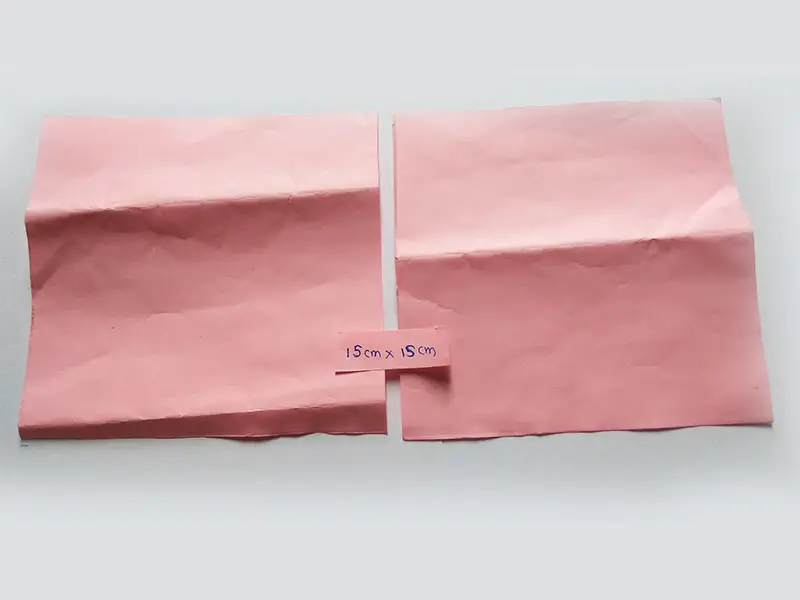
Cut two 15cm x 15cm pieces of A4 paper.
Cut two squares of equal length and width.
Step 02
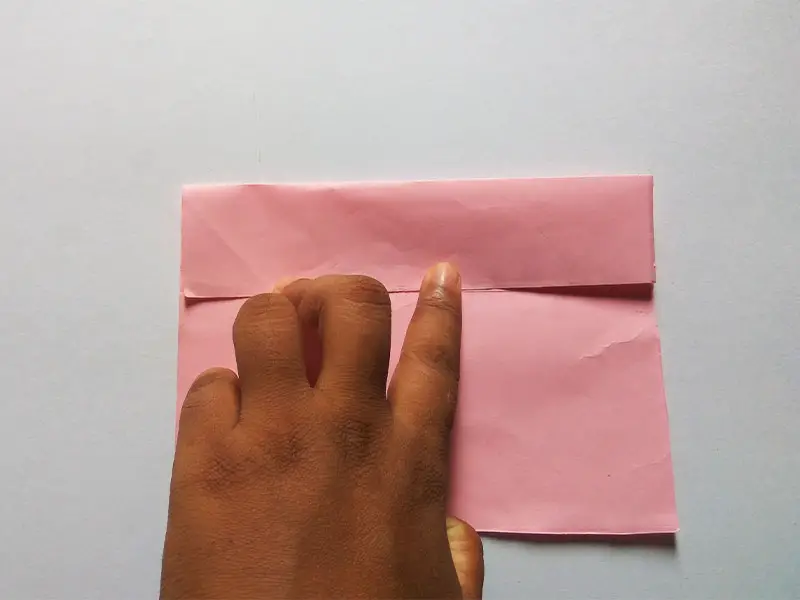
Fold both parts right in the middle. Leave the bend and stretch again. Re-stretch both parts.
Step 03
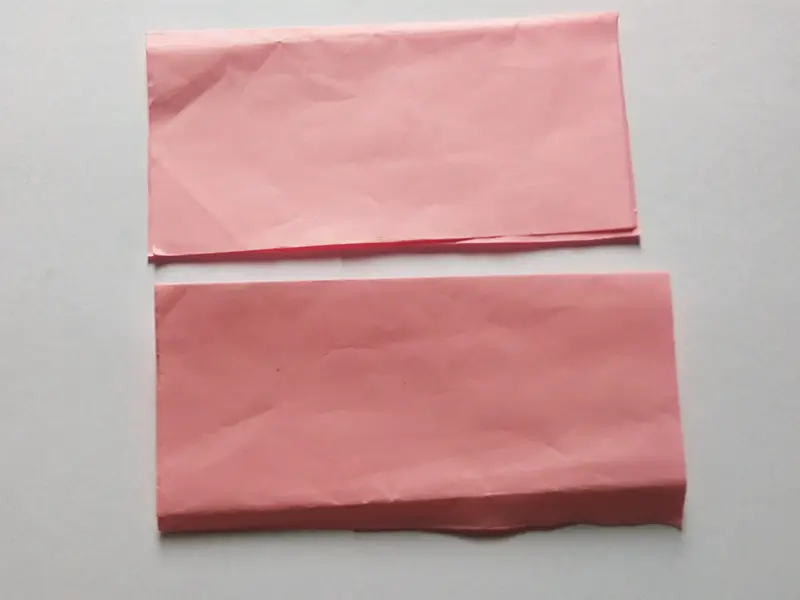
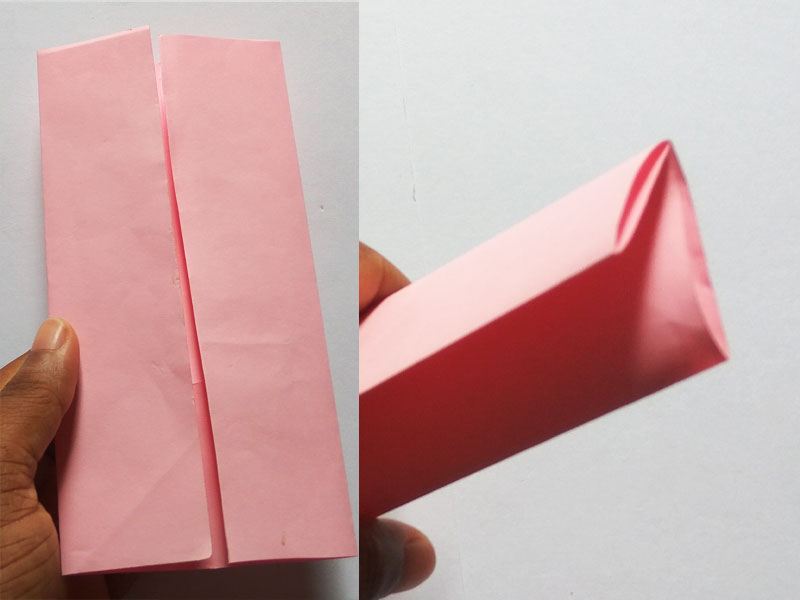
Bend both sides of the bend back in half. Fold both sides of the fold we raised in the middle.
This paper should fold it in such a way that it closes the window on both sides.
Fold both parts.
Step 04
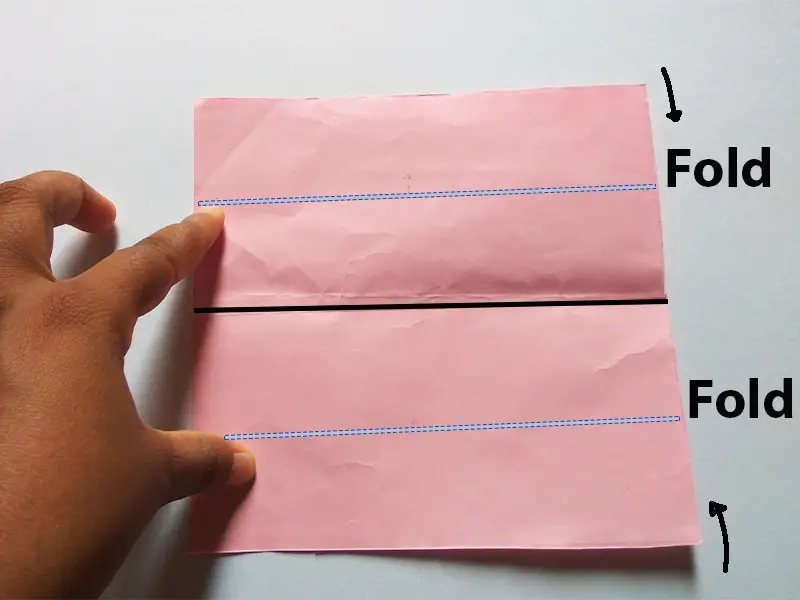
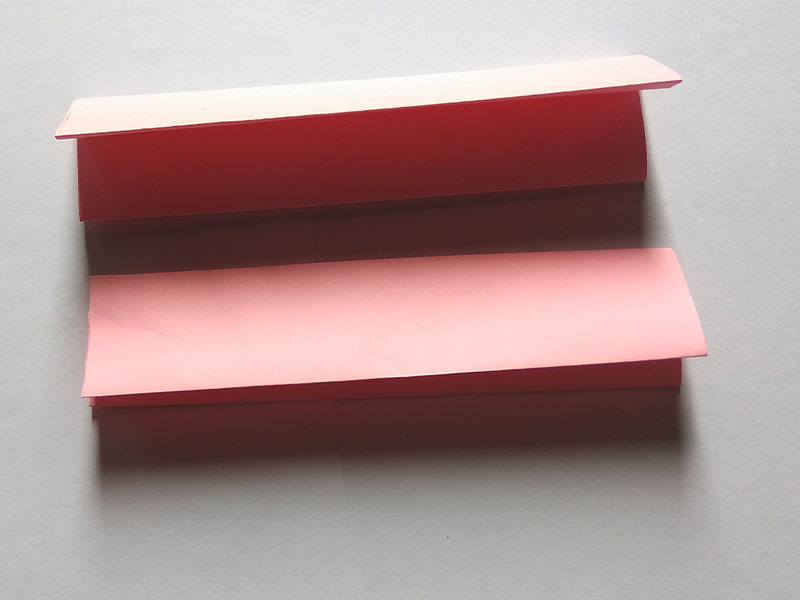
Now fold it in half in the middle as before.
a Paper should fold it in half without stretching the folds on both sides.
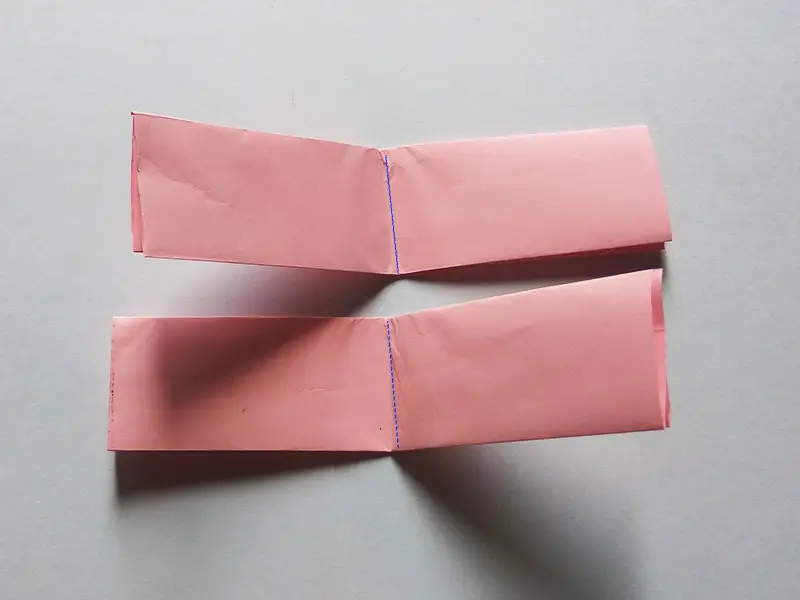
Now your two parts should look like the image below.
Step 05
Fold the two parts in half and unfold them again.
Does not fully lengthen. Only the one that is new to the two will be reopened.
Step 06
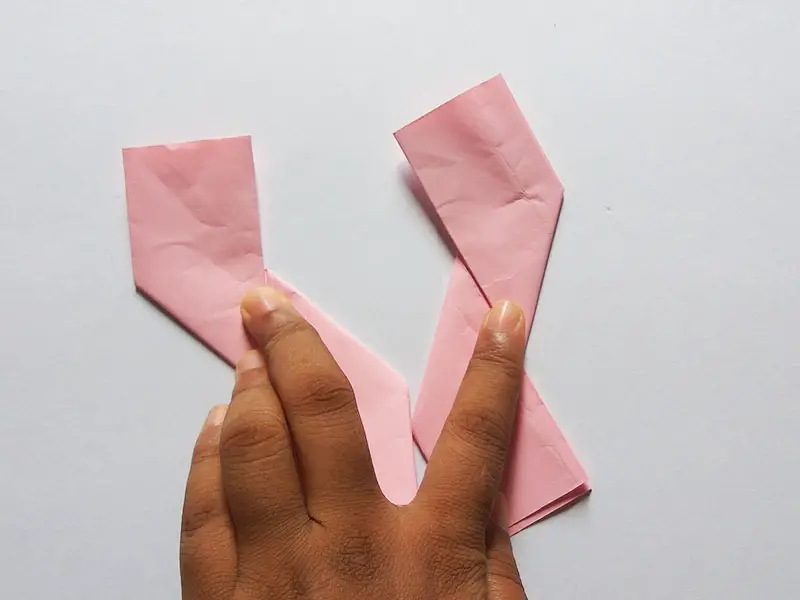
Fold the parts back together as follows. Fold one part of the bend side up to the right side. Fold the other side, the left side down.
Swap sides in the same way and fold the other side up and down to the right and left.
The sides of the two parts should be changed and folded. Bend the right side of one section up and bend the right side of the other section down.

Step 07
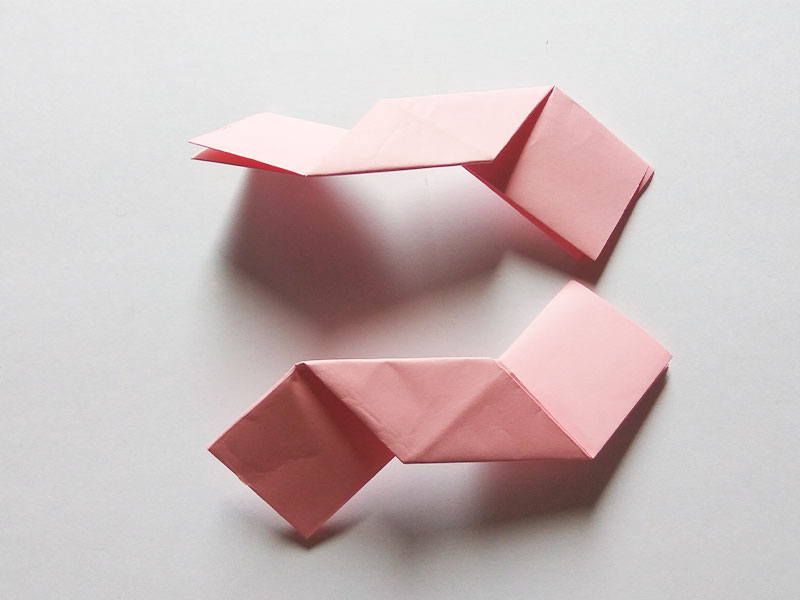
Once we have folded both parts, it should look like the following.
I have put photos in both parts.
Step 08
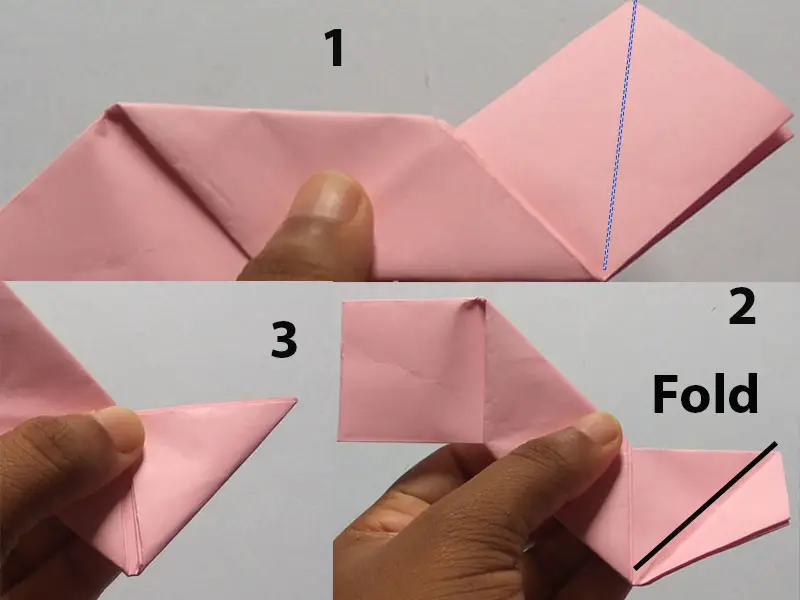
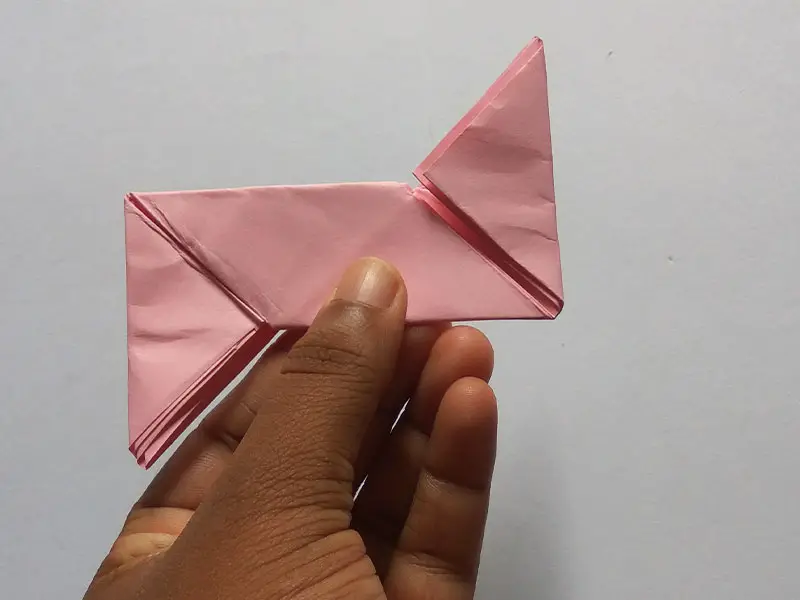
Fold the four corners of our two parts into a triangular shape, as shown below.
This part should fold across the corners.
You have to fold it as shown in the picture, or you will not fold the Ninja Star.
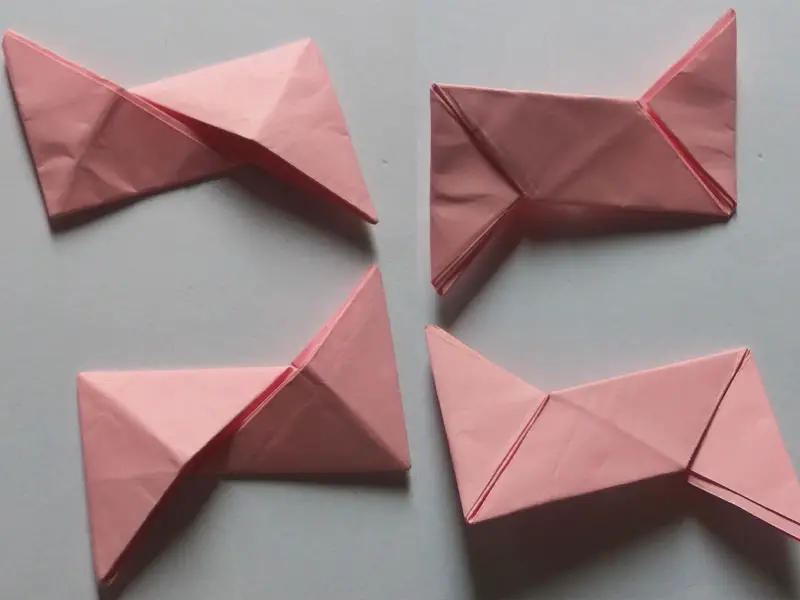
Step 09
Place the two parts we made in an X shape on top of each other.
Both parts should not be on the same side but top.
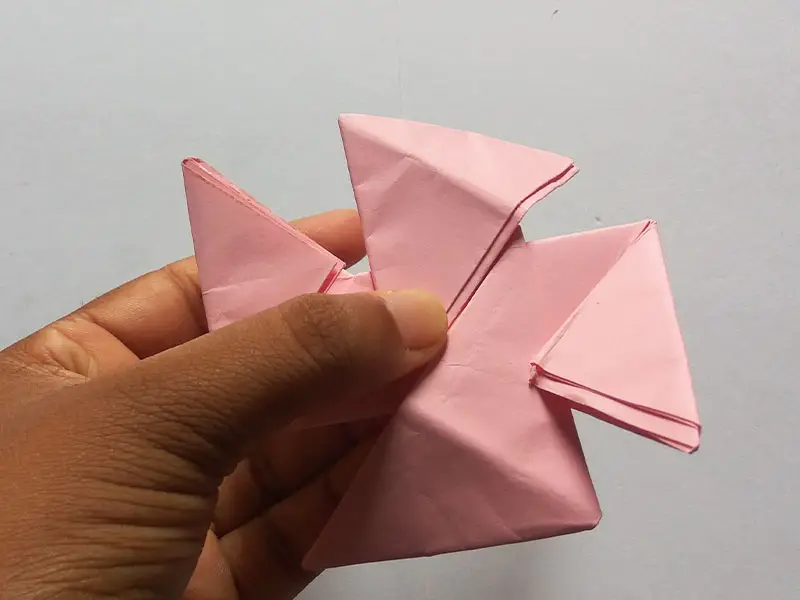
Step 10
We have to keep the side that is like two triangles up.
Then fold the sides of the bottom part into a triangular shape.
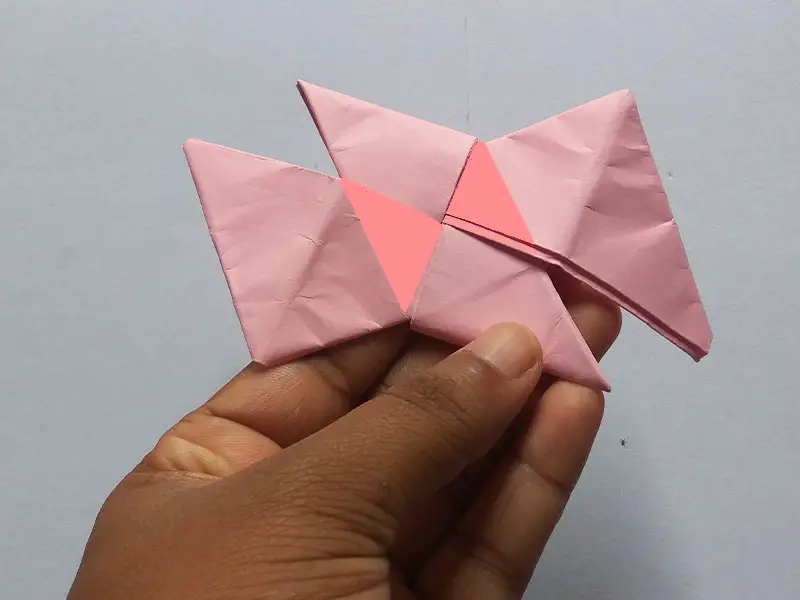
Step 11
Now fold the other side and turn the other side in the same way.
We have to bend the two corners that we folded on that side as well.
Make it by hand, lock it well and fold it in order.
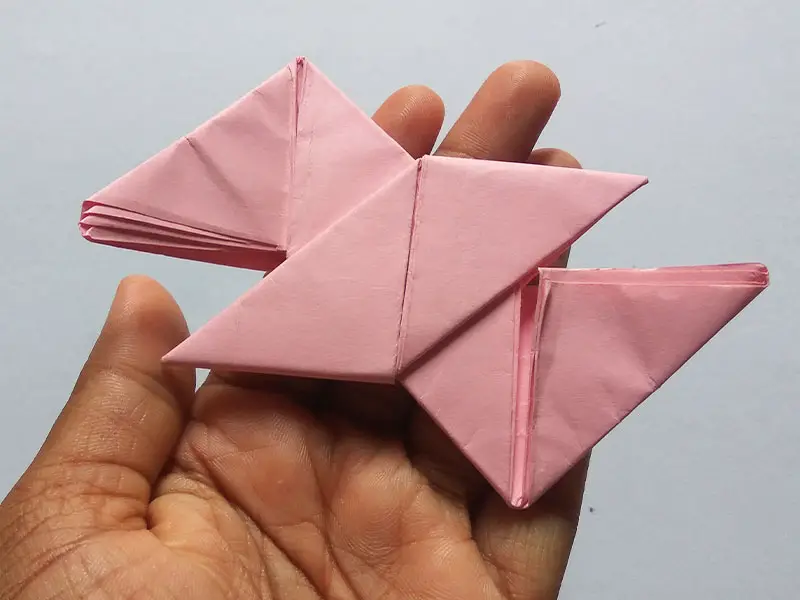
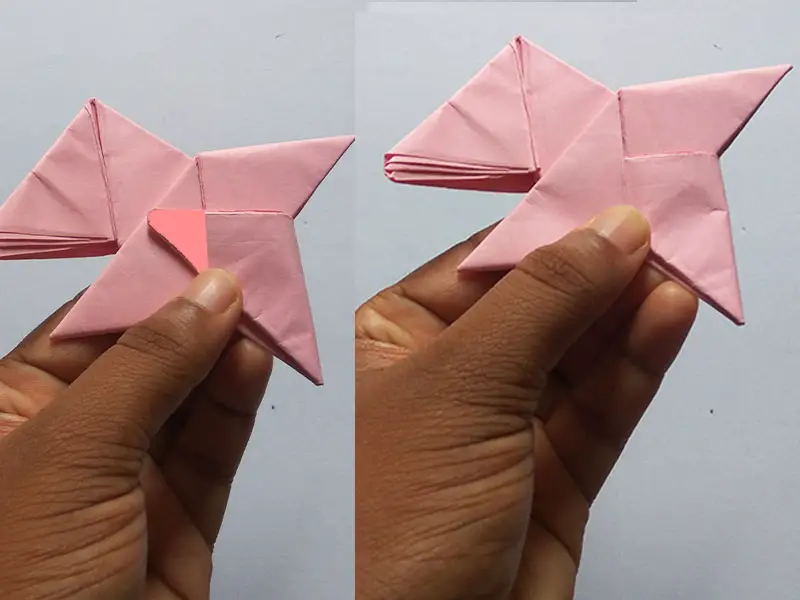
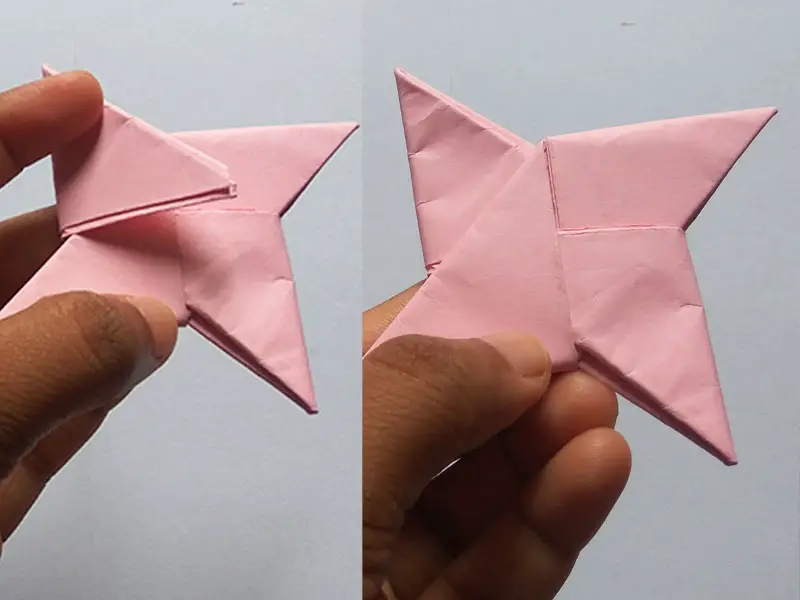
Finished…
Here we are done building the Ninja Star. So now you are a ninja too.
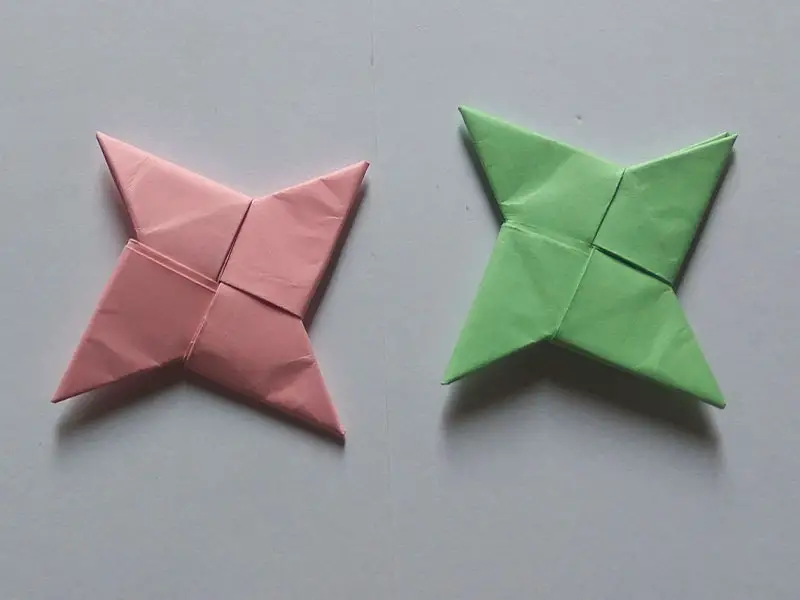
If you have something unclear, don’t forget to watch the video below. Thank you
Continue Reading…
How to make flower using paper quilling (simple)
How to make paper quilling butterfly (step by step)
