In today’s article, I will show you how to make some small bow designs that are quickly needed to decorate Christmas gifts and decorate the Christmas tree and decorate the house from paper.
We make different types of bows to decorate the Christmas tree beautifully. So, please make that bow yourself in a variety of ways using the paper we throw away. The cost is so high these days that you can make these little bows that I tell you about using small pieces of discarded colored paper.
In my article, I have brought you three beautiful little bows on how to make them quickly. I hope you like to see how to make this little bow.
So now, let’s see how to create these little paper bows.
Contents
How to Make Christmas Tree Bows
What You Need:
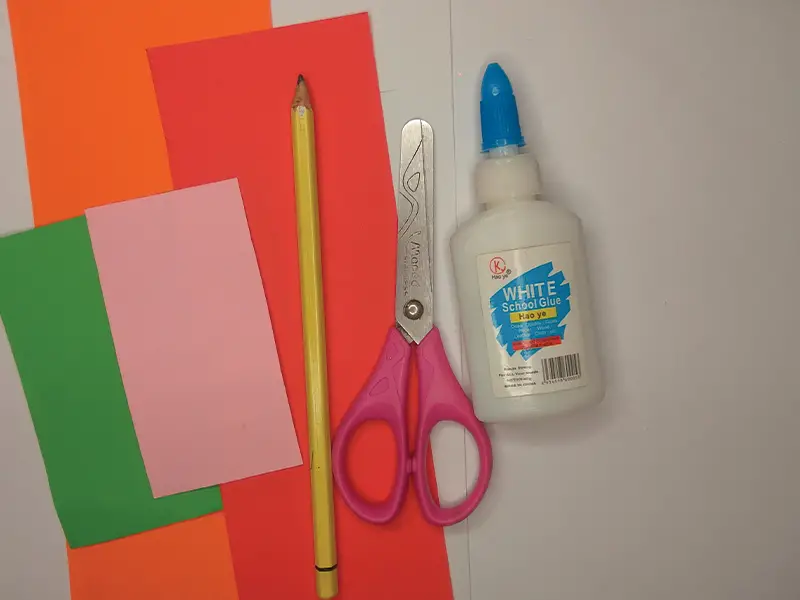
We need some pieces of colored paper to create this beautiful little bow. We can use small amounts of discarded paper for this.
We also need more pencils, scissors, and glue.
You can create this paper bow with tiny things. Then the necessary items are ready. Let’s see how to make this bow.
Way of the Making
My first little bow design – 01
Step 01: Cutting out pieces of paper for the first bow design.
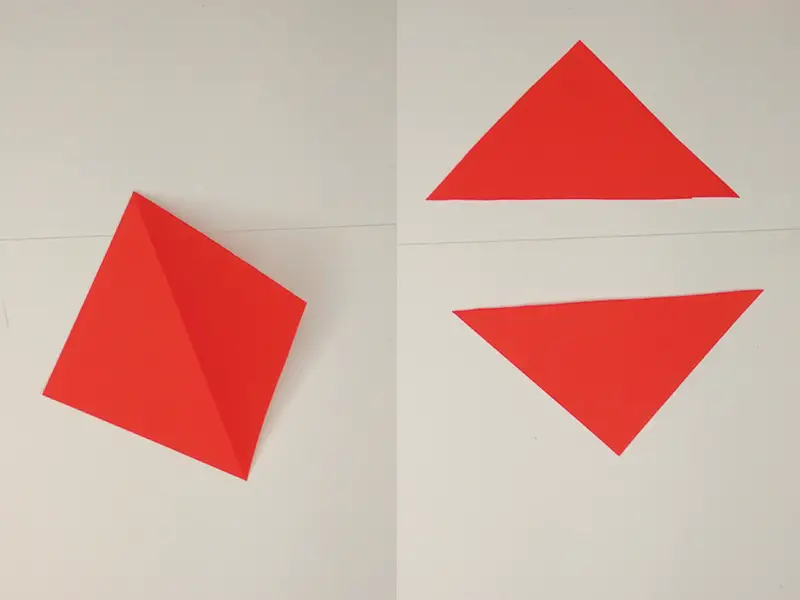
I took the red paper part to create the first bow.
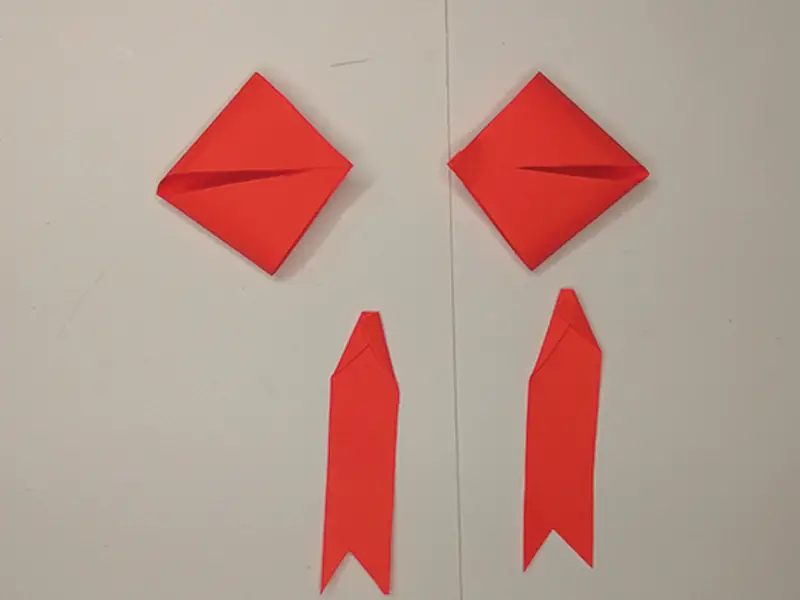
I cut two triangular pieces out of red paper. First, cut the two triangles apart.
Step 02: Forming a bow shape from triangular sections.
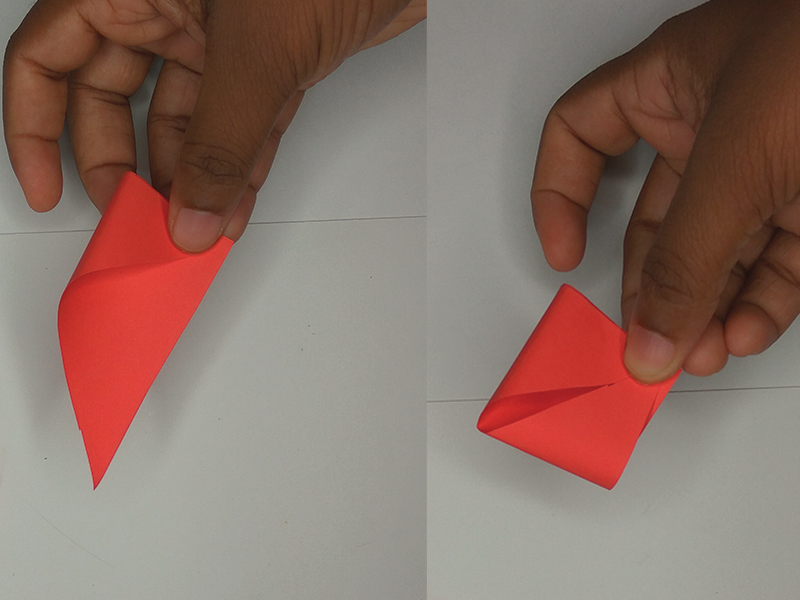
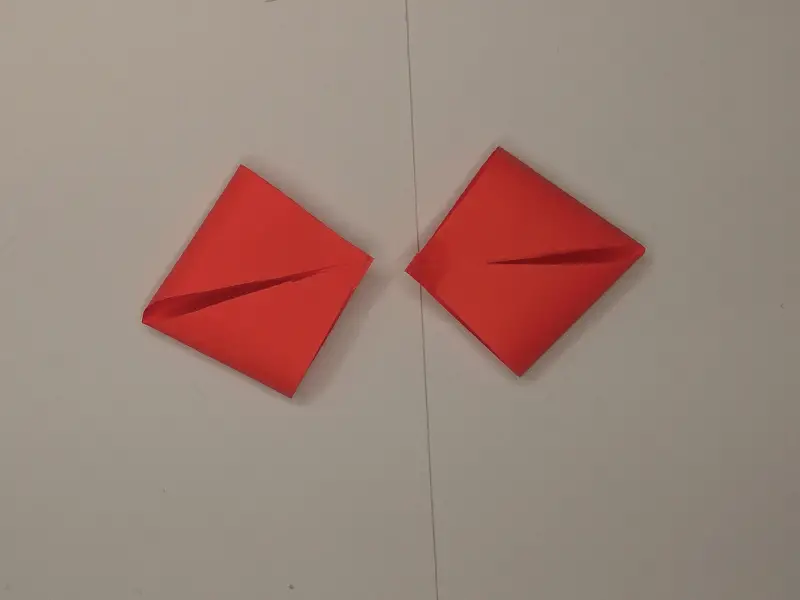
Place the two corners of the triangle in the middle (the high side of the triangle) and glue them together.
Glue both triangles together, as shown below.
Step 03: Completing the design of the bow.
Then cut the remaining two parts of the bow in red.
To do this, cut a long strip of paper and make two beautiful pieces, as shown in the picture below.
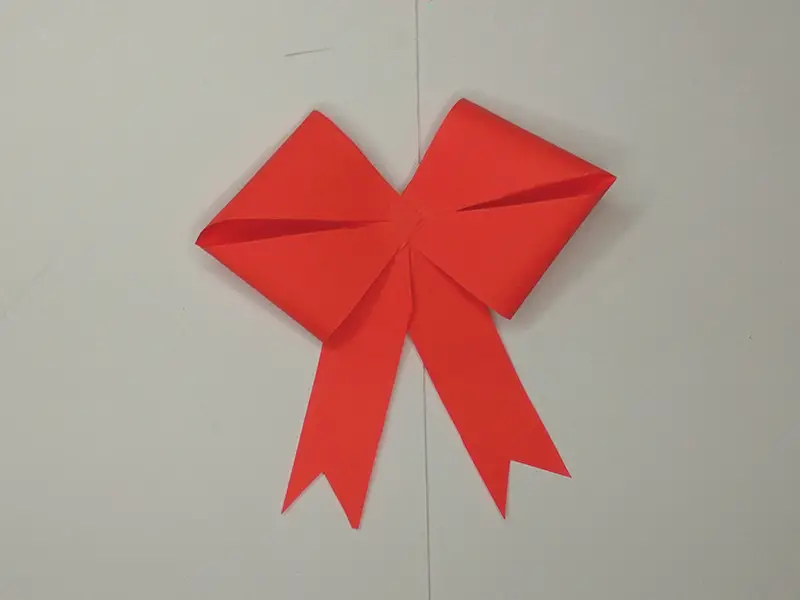
Then put all the pieces together to create a beautiful bow.
You can easily make this bow, and you can also make the bow in any color you like.
My second little bow design – 02
Step 01: Prepare the paper parts needed to create the bow.
I’m going to create the second bow out of a piece of pink paper.
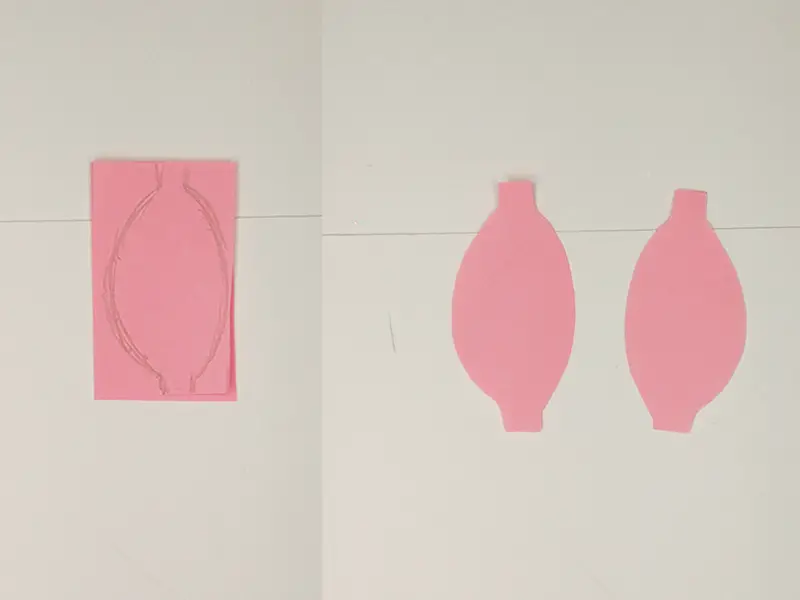
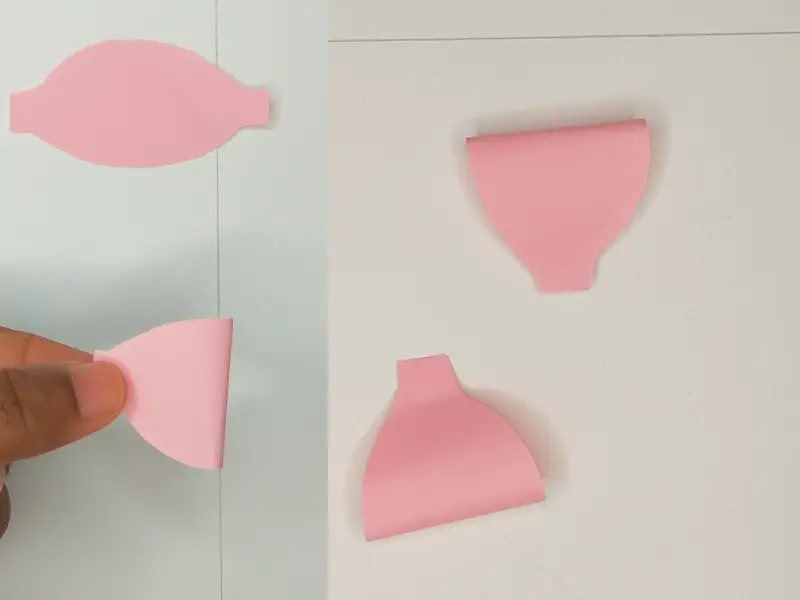
First, fold the pink paper in half. Draw the folded piece of writing as shown below. Cut out the drawn image.
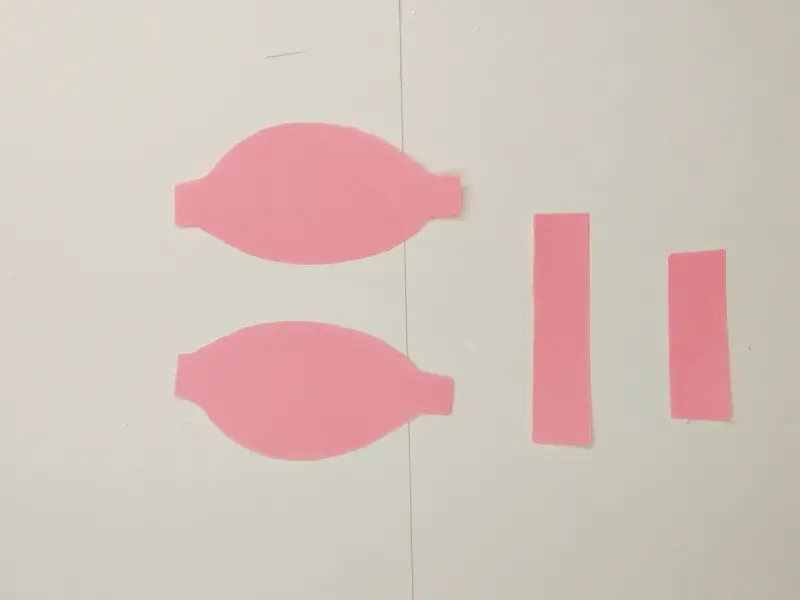
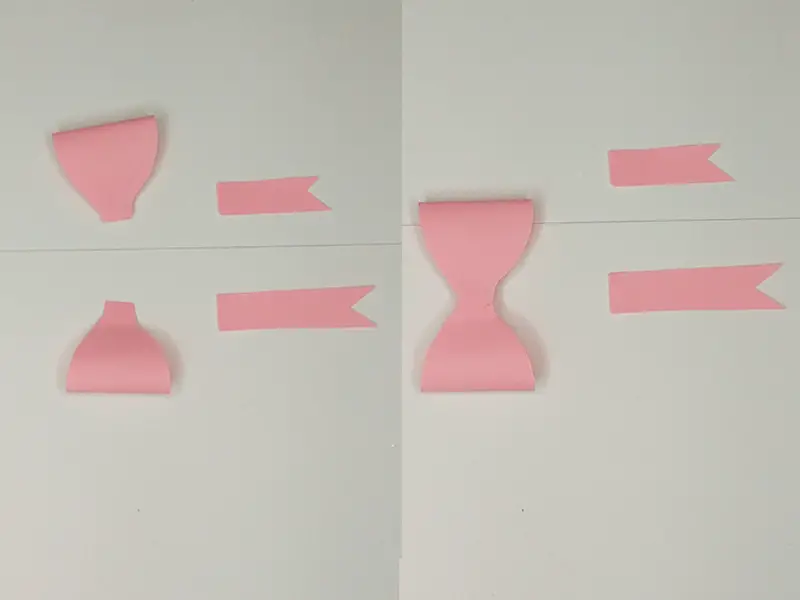
In addition, cut out two small pieces of paper. Cut out the pieces of paper as I have shown in the picture.
Step 02: Making two bow sections.
Fold the cut egg into two shaped pieces and glue the two pieces together on both sides. I must glue the cut egg-shaped parts as shown in the pictures below.
Fold the two parts in the middle in the shape of a bow.
Step 03: Assemble all the parts of the bow and make the bow.
Now glue the two bow parts we made together. Then cut the two pieces of paper strips neatly at the bottom like a flag. (As shown)
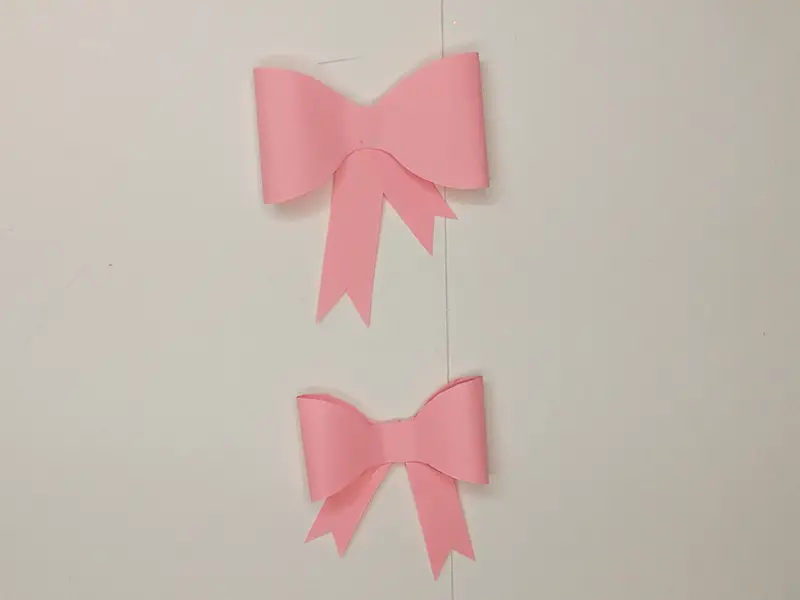
Then glue the two pieces of paper to the two pieces of the bow glued initially together.
We have now completed our second bow design. Here are three straightforward methods I will teach you. So, let’s look at the other format.
My third little bow design – 03
Step 01: Preparing the paper section for creating the bow.
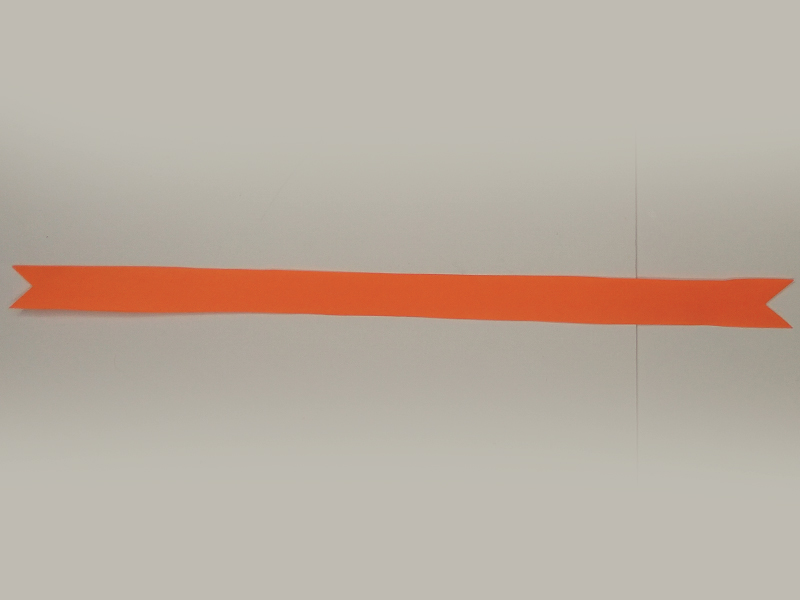
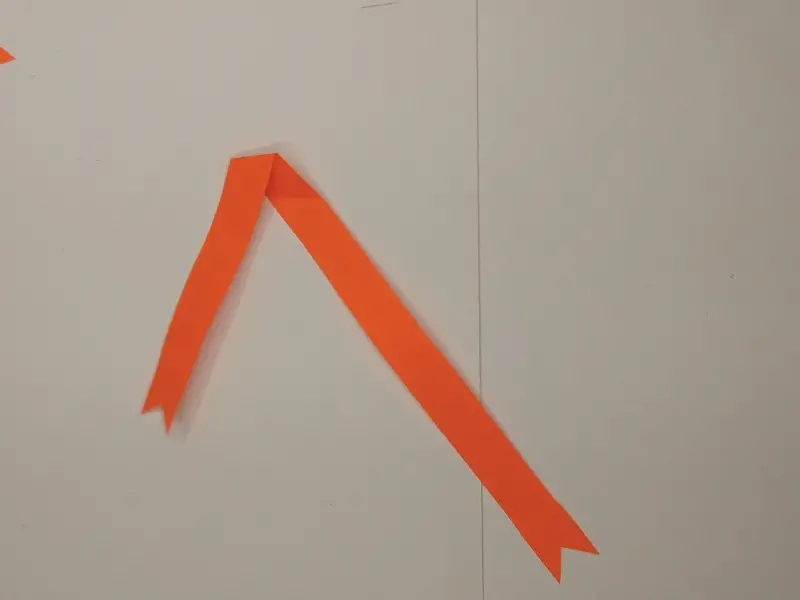
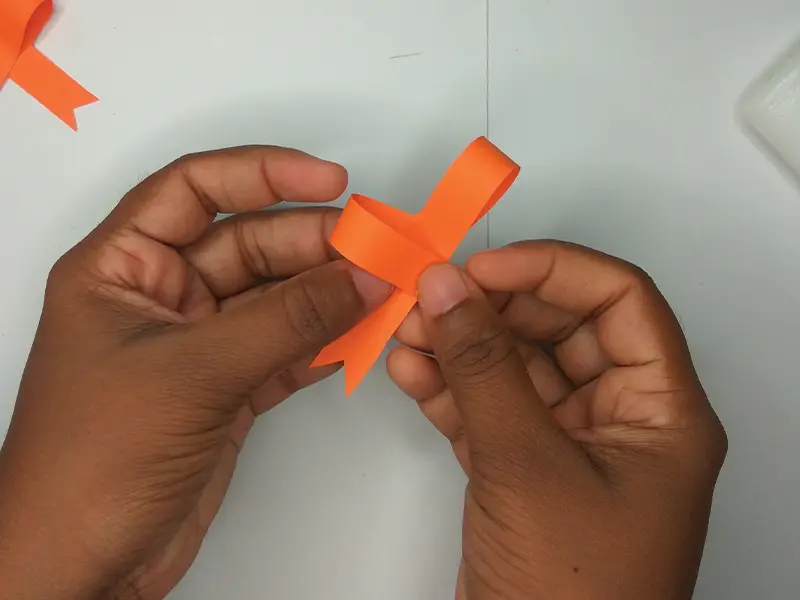
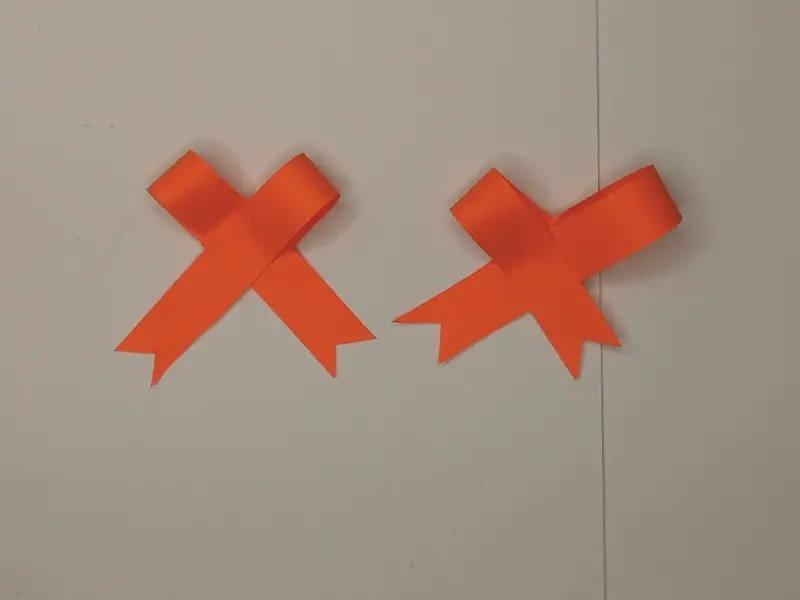
I am using a piece of orange paper to create my last bow.
First, I cut a strip of paper. Then the two ends of the strip of paper are cut like a flag.
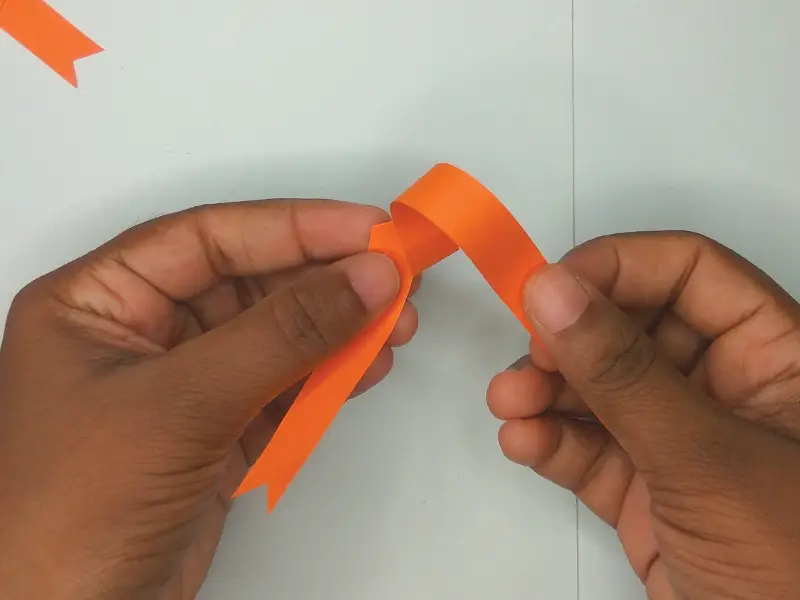
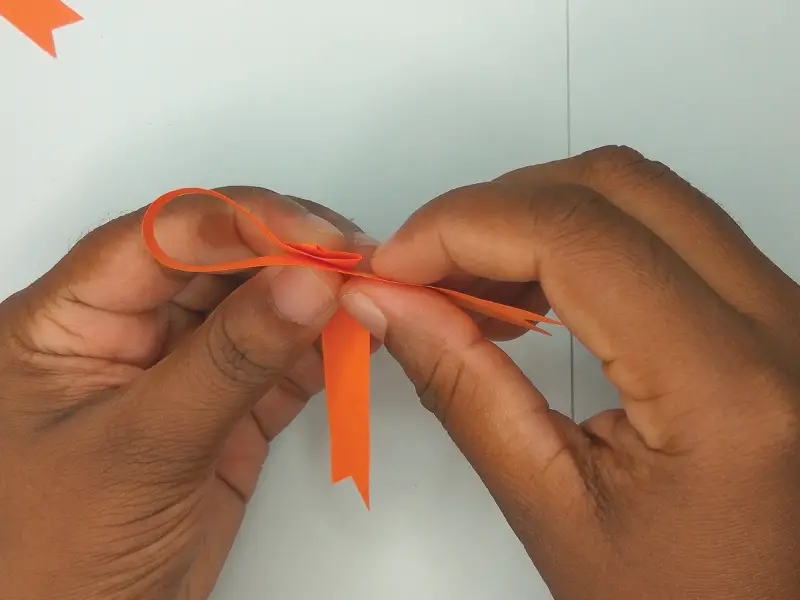
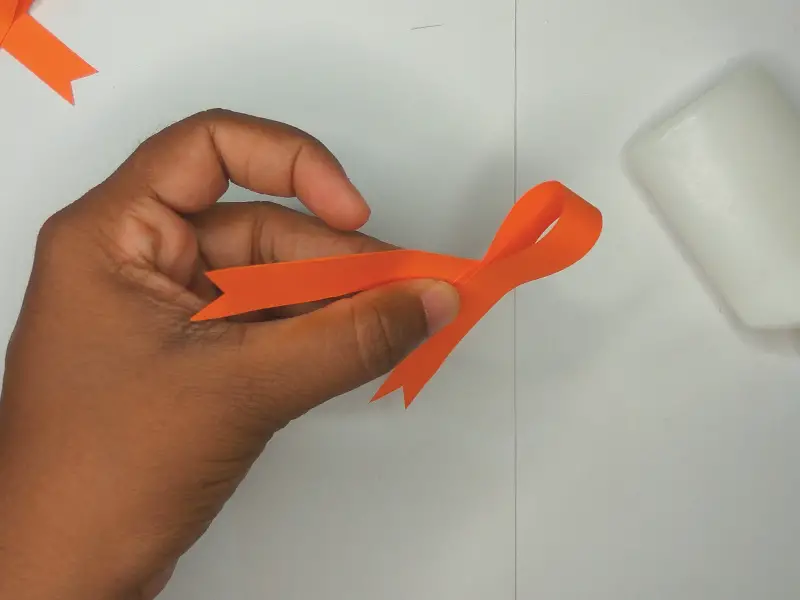
Step 02: Fold the cut paper strip into a bow.
Fold the paper strip in the following order.
Once folded, you can create this paper bow.
I’m just going to tell you how to make three beautiful tiny paper bow designs. I hope this Paper Bow design of mine is going to be very important to you.

If you have something unclear, don’t forget to watch the video below. Thank you.
Continue Reading…
20 Paper craft ideas for Christmas
How to make a Christmas Paper Bag
How to make paper Christmas stars

