I made this hat for his own nursery activities involving my little one. Making this hat with my little one really was a lot of fun for me.
Give it a try yourself?
Contents
How to make paper sun hat
What you need:
- Paper of any color
- Paper flower or ornament
- Scissor
- Glue
- Pencil
- Color strips (any color you like)
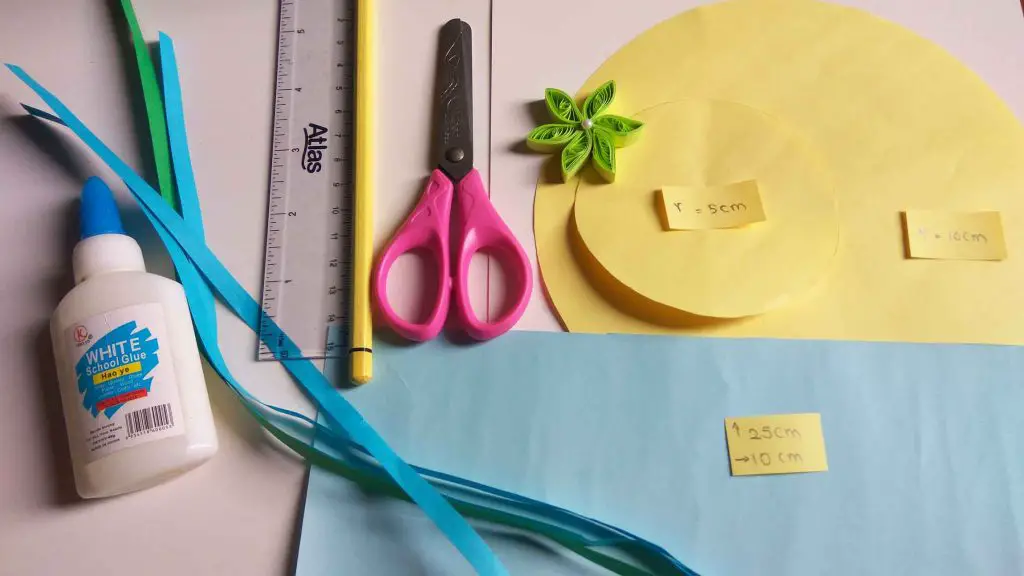
Let’s see how we make it now
First prepare the necessary items as above.
Step 01: Cut the paper to create the hat.
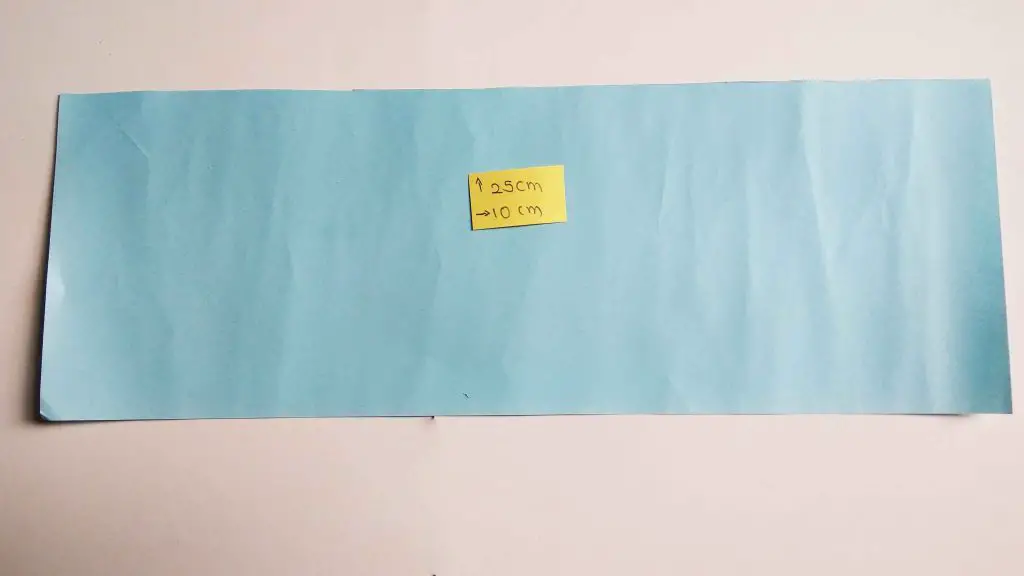
Cut a piece of blue paper 25 cm long and 10 cm wide.
Glue the cut rectangle to the circle. Glue the two sides of the width together.
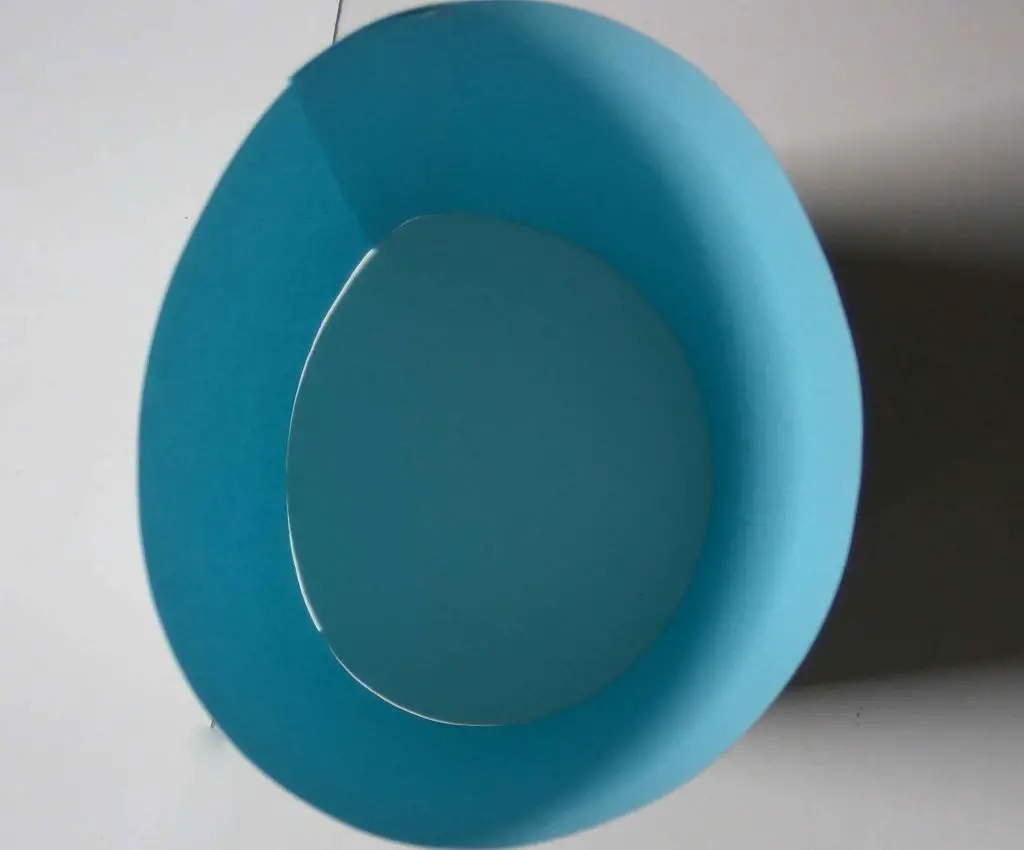
Step 02: Begin to make the top of the hat.
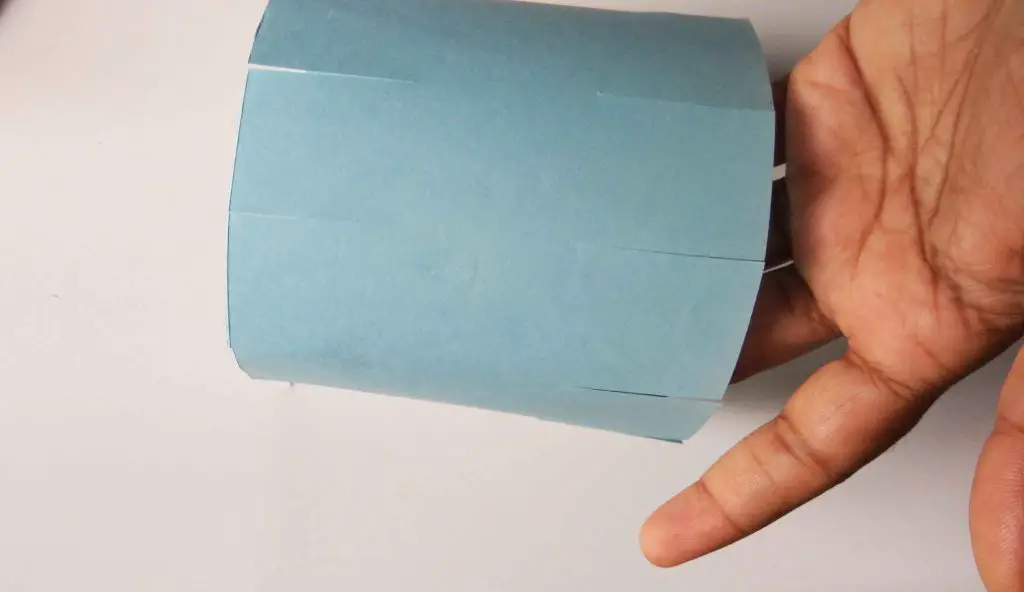
Cut small strips on the inside and bottom (on both sides) of the round section made by pasting the blue paper.
The circle does not cut apart.
I have put a photo below.
Step 03: How to fold the top of the hat.
Fold the parts we cut in the hat, one side to the inside.
Fold the cut pieces on the other side to the light side.
It should be folded so that one side is inside and the other side is outside.
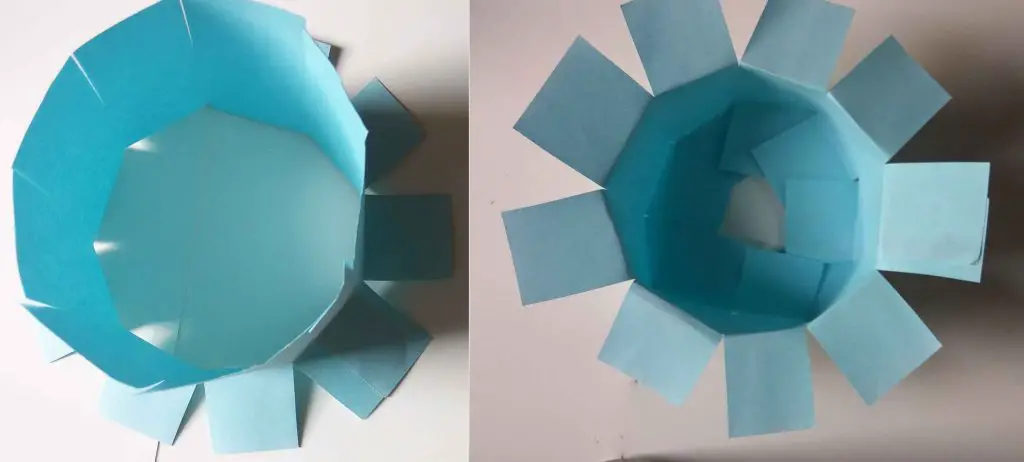
Step 04: Glue one side of the folded parts of the hat.
Stick the cut pieces of the hat folded on the inside as shown in the image below.
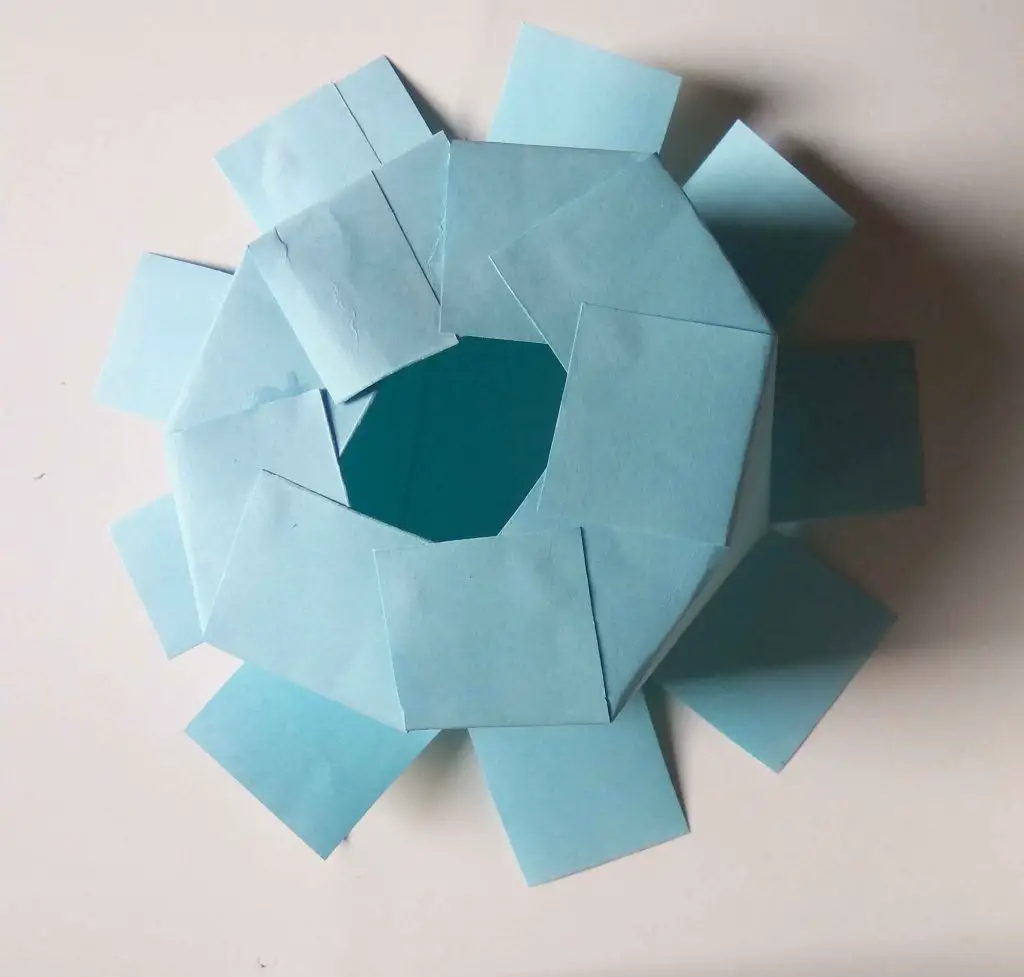

Step 05: Finish making the top of the hat.
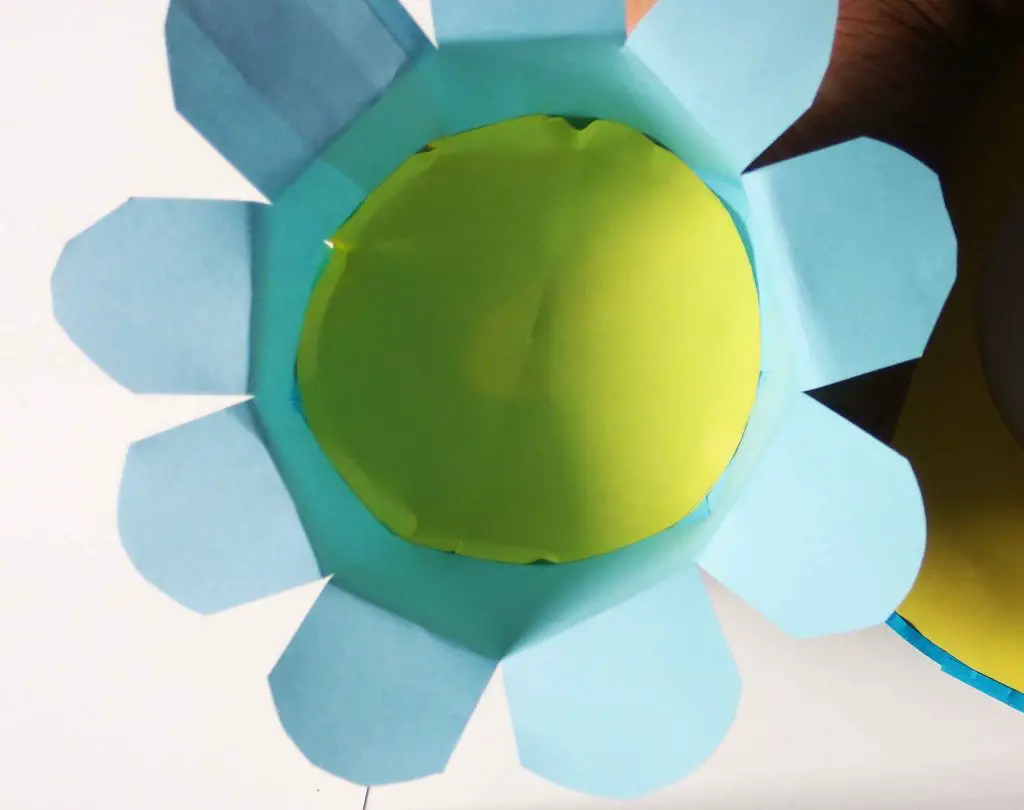
Take the circle cut out of yellow.
Then place the yellow circle on the inside of the folded top.
After pasting on the blue part, paste the gap to cover the yellow circle.
Then cut the ends of the other folds (folded sections) out of the blue area into a round shape. See photos below. You will understand.
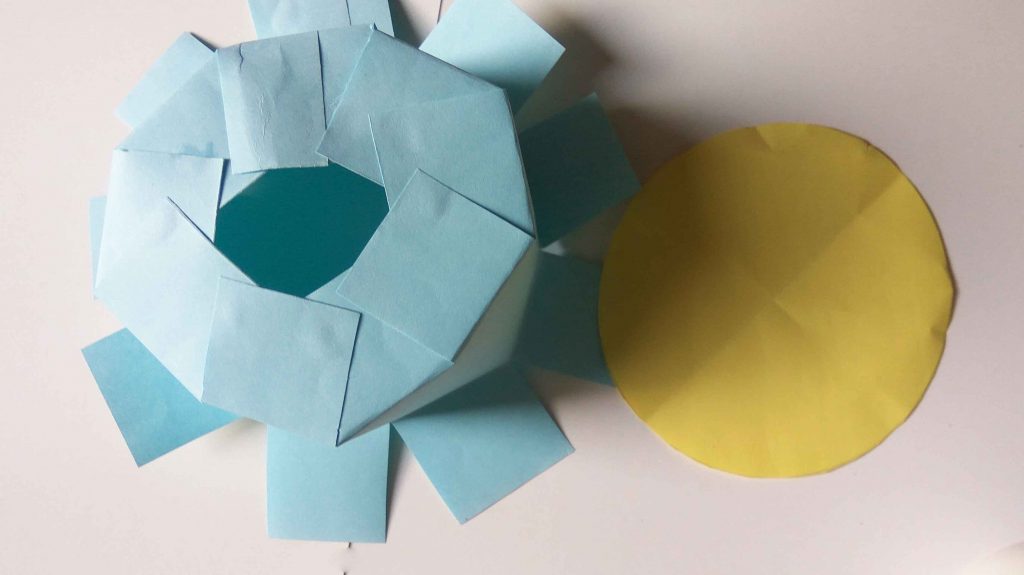
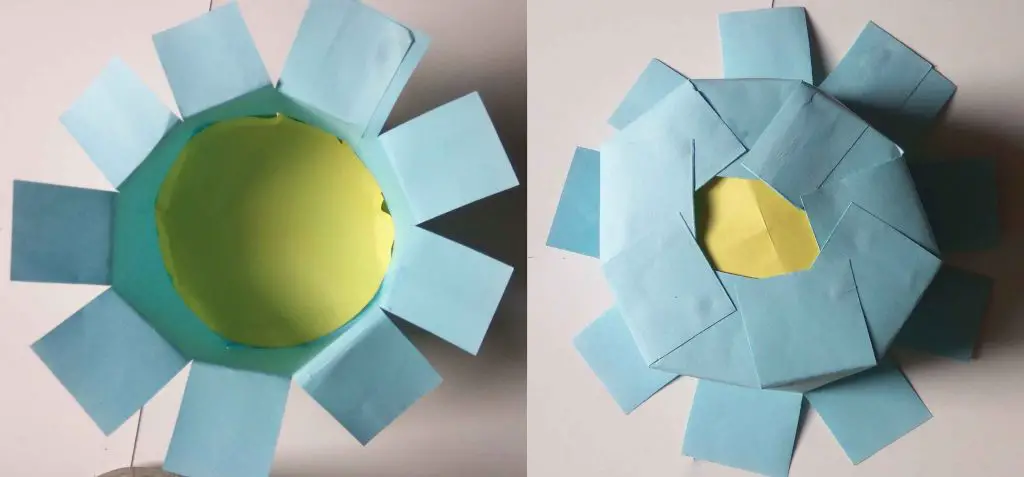
Step 06: Make the cover around the hat.
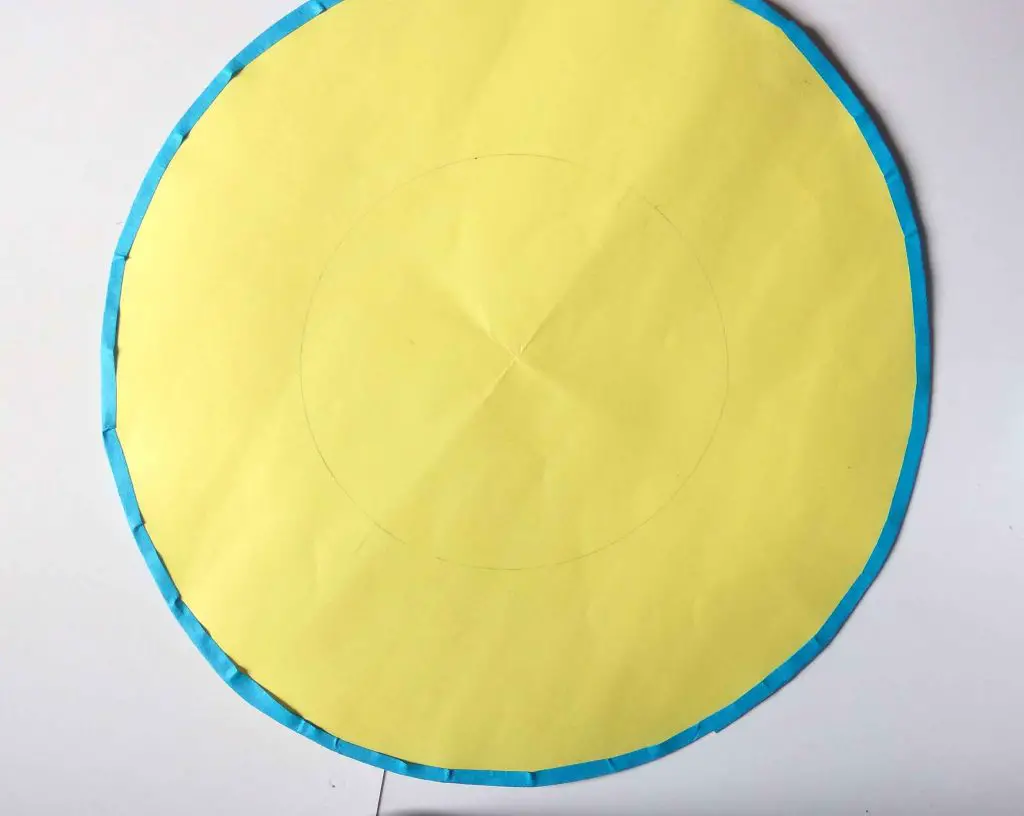
Take the other sizeable yellow circle we cut to make the cover around the hat.
Before that, draw a circle, the yellow circle we paste on the top of the hat.
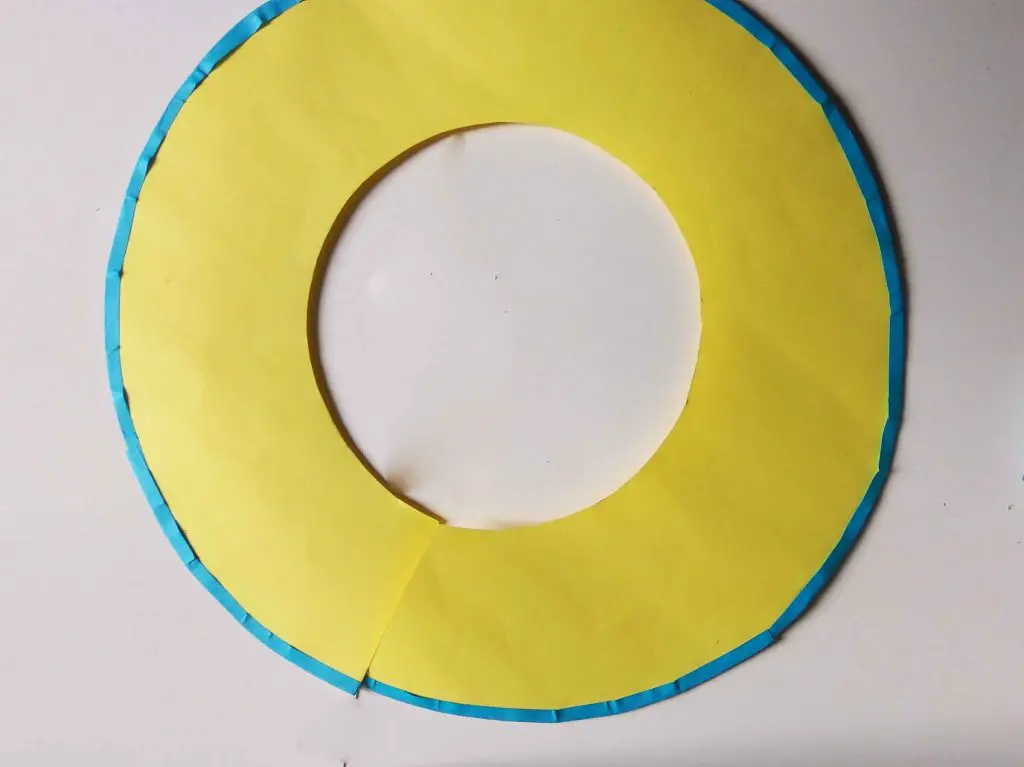
Cut out a 5cm circle drawn in the middle of the yellow circle.
Then take a strip of blue paper and stick it around the big yellow circle.

Step 07: Glue the two parts of the hat together.
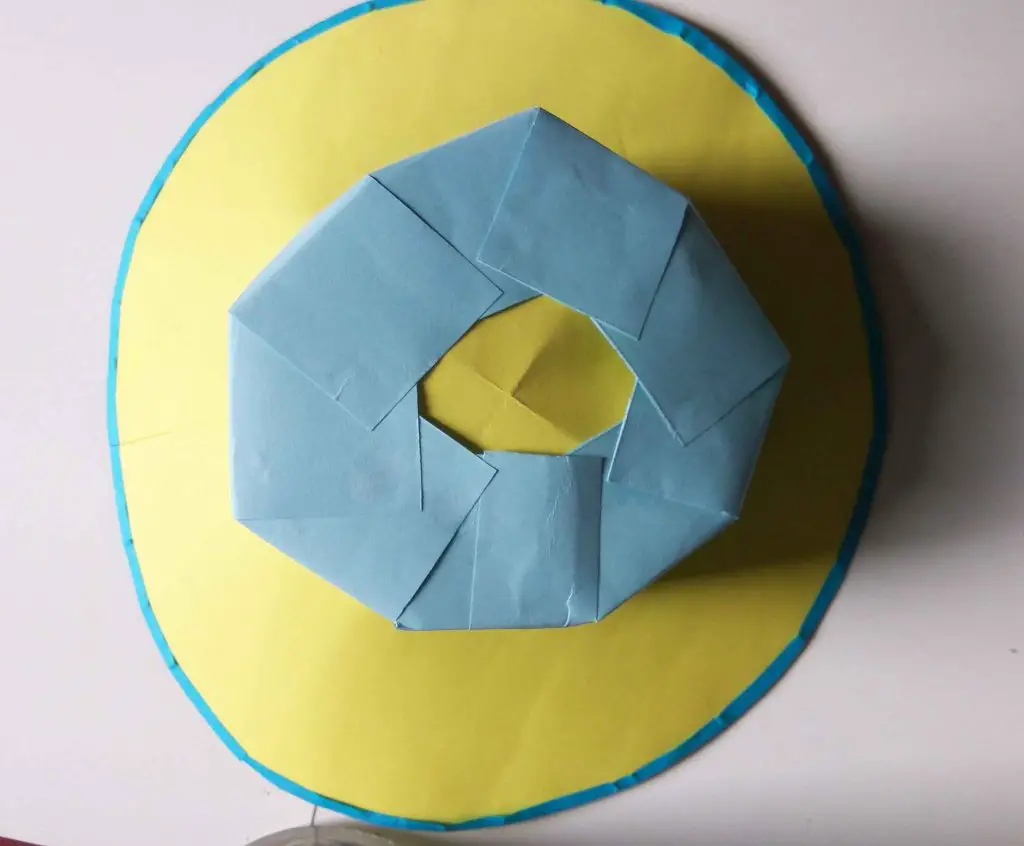
Now take the top of the hat we made earlier.
Then we cut a circle as the cover of the hat (round part) and take the made part and paste the cut parts on the top part of the hat inside it.
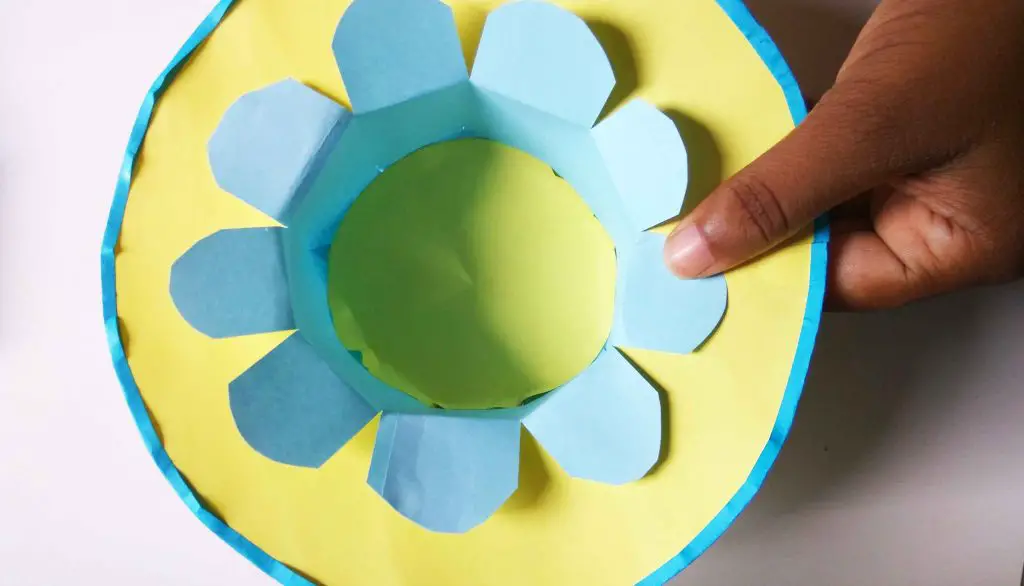
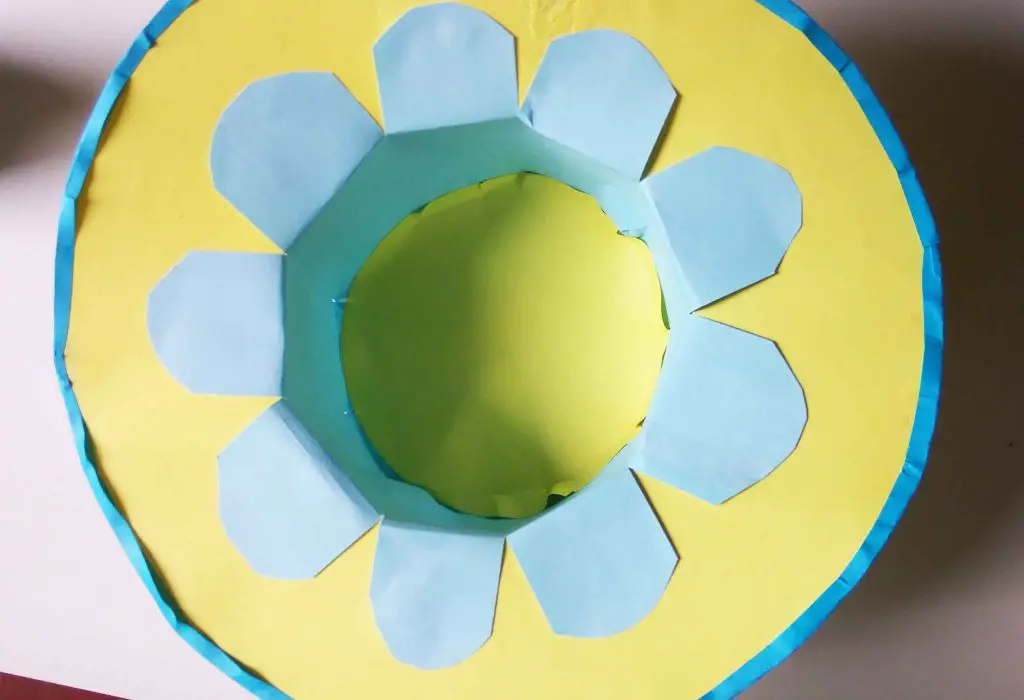
Step 08: Glue the remaining parts of the hat together.
Then take a strip of the blue paper strip.
Wrap the blue paper strip around the cap and the top of the hat around the circle.
Below is the way I pasted it.
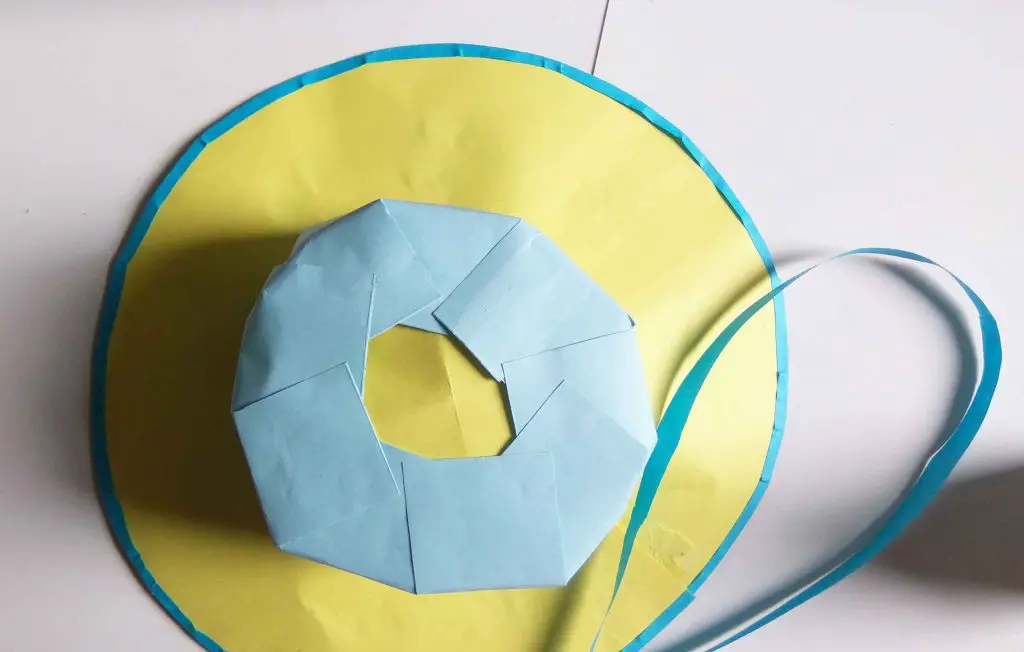
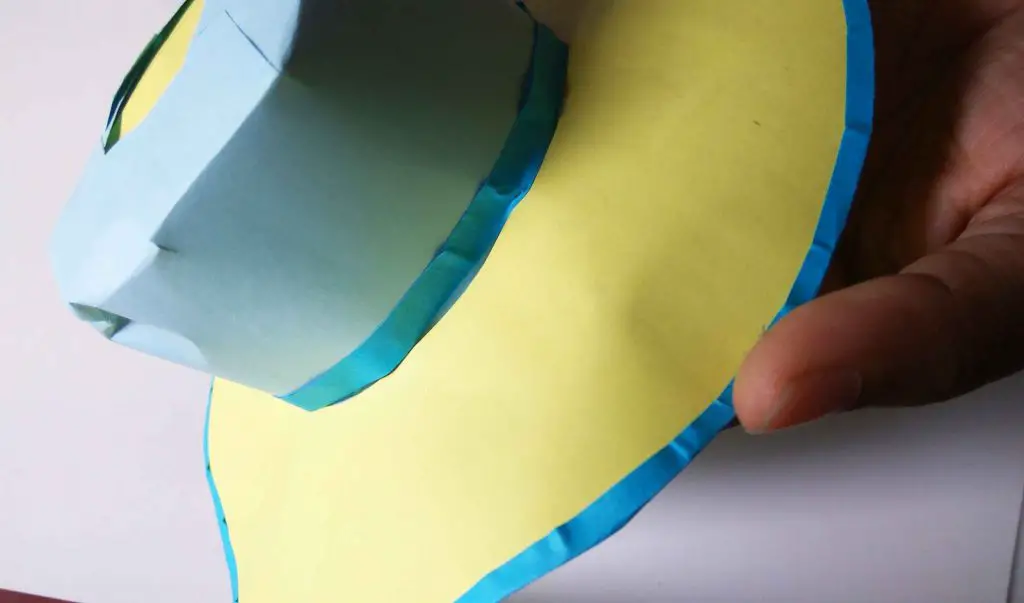
Step 09: Let’s make the finished hat beautiful.
We’re done making the hat now. Next, we are going to decorate the hat.
Take a strip of green paper. Create a paper bow out of your green strip.
The paper flower I created is what I use to design this hat. (If you want to know how to make these paper flowers, I have one under my paper quilting category)
Then glue the paper flower and paper bow we made together.
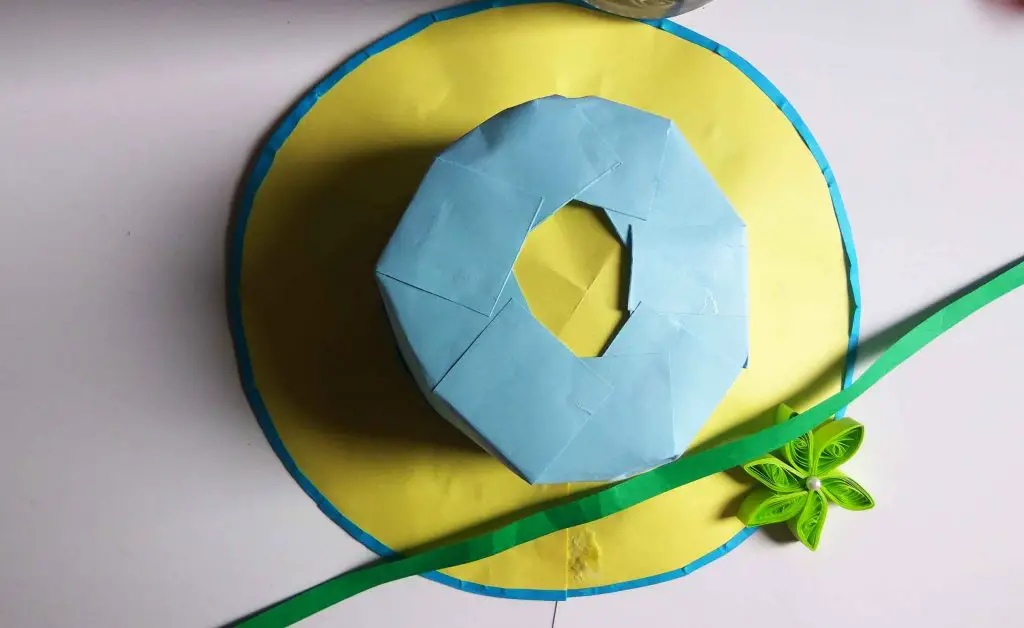
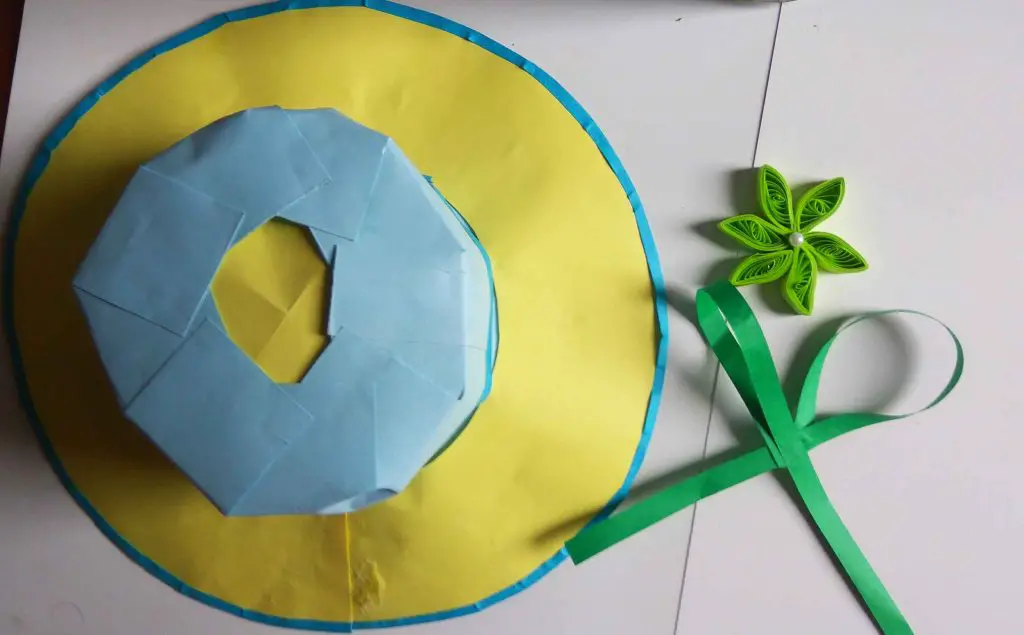
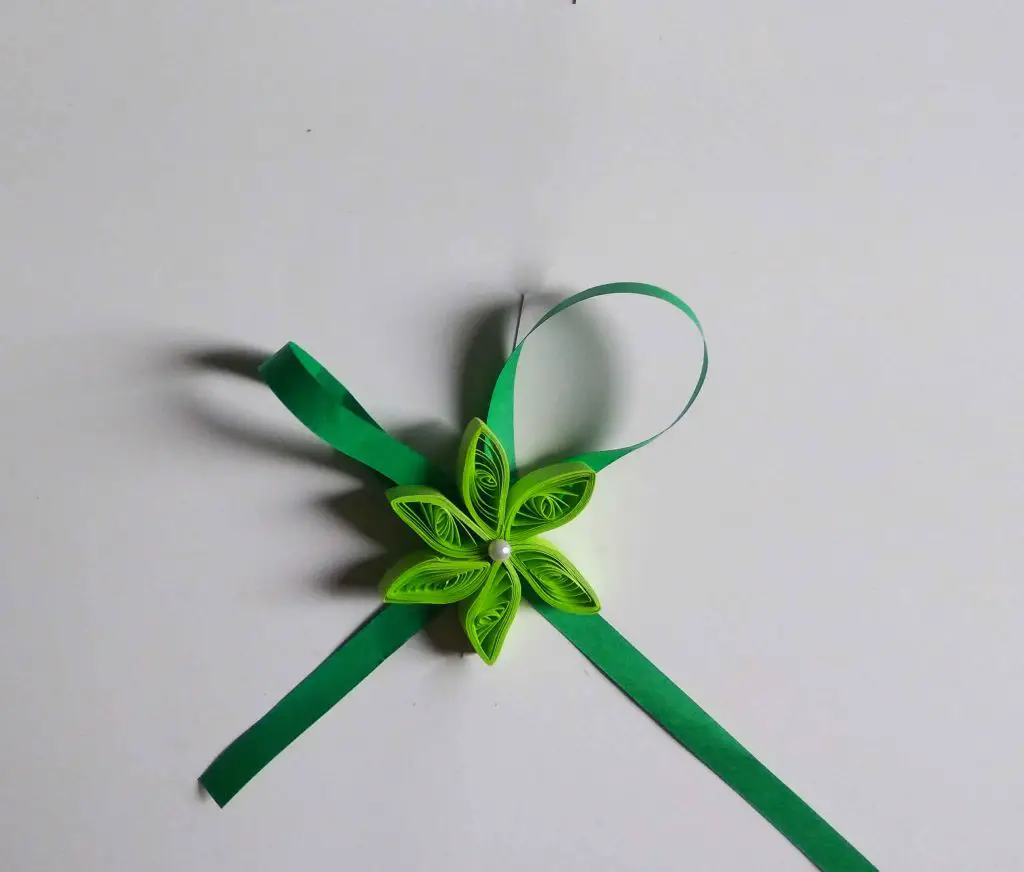
Step 10: We have now finished making our hat.
Stick it neatly on the bottom of the top of the made flower hat.
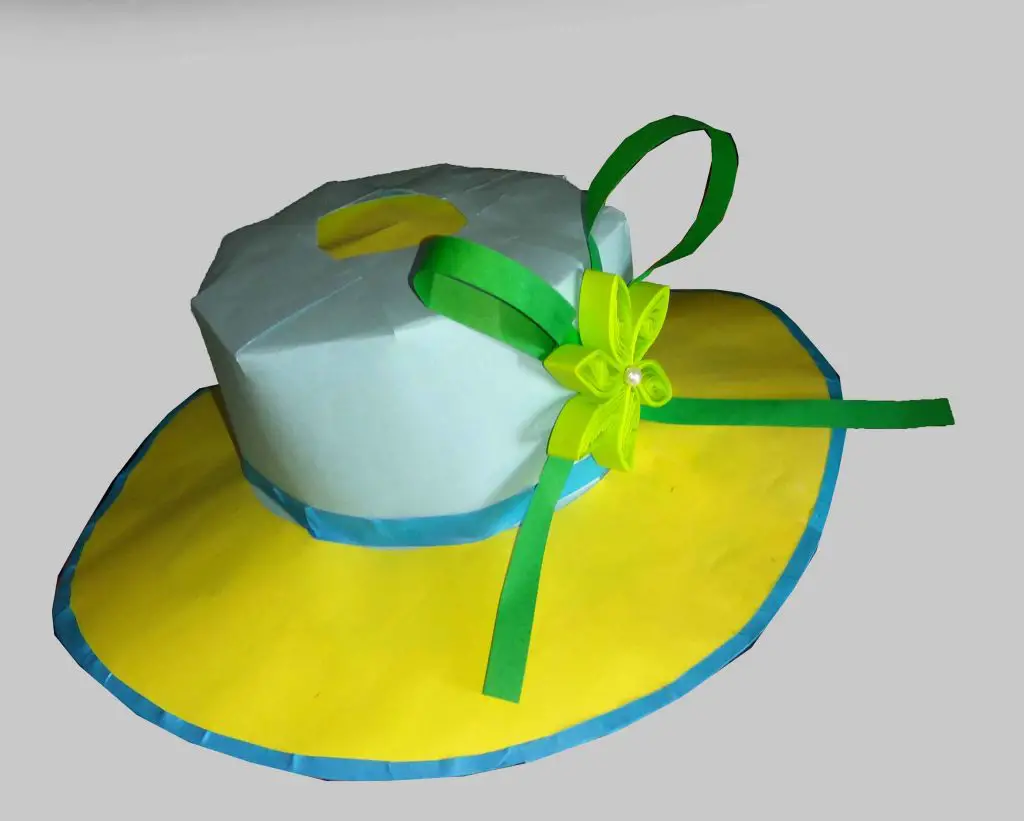
If you have something unclear, don’t forget to watch the video below. Thank you.
Continue Reading…
How to make a honey bee paper craft
How do you make a simple paper gun

